-Photographing Animals for Teens-
-ISO-
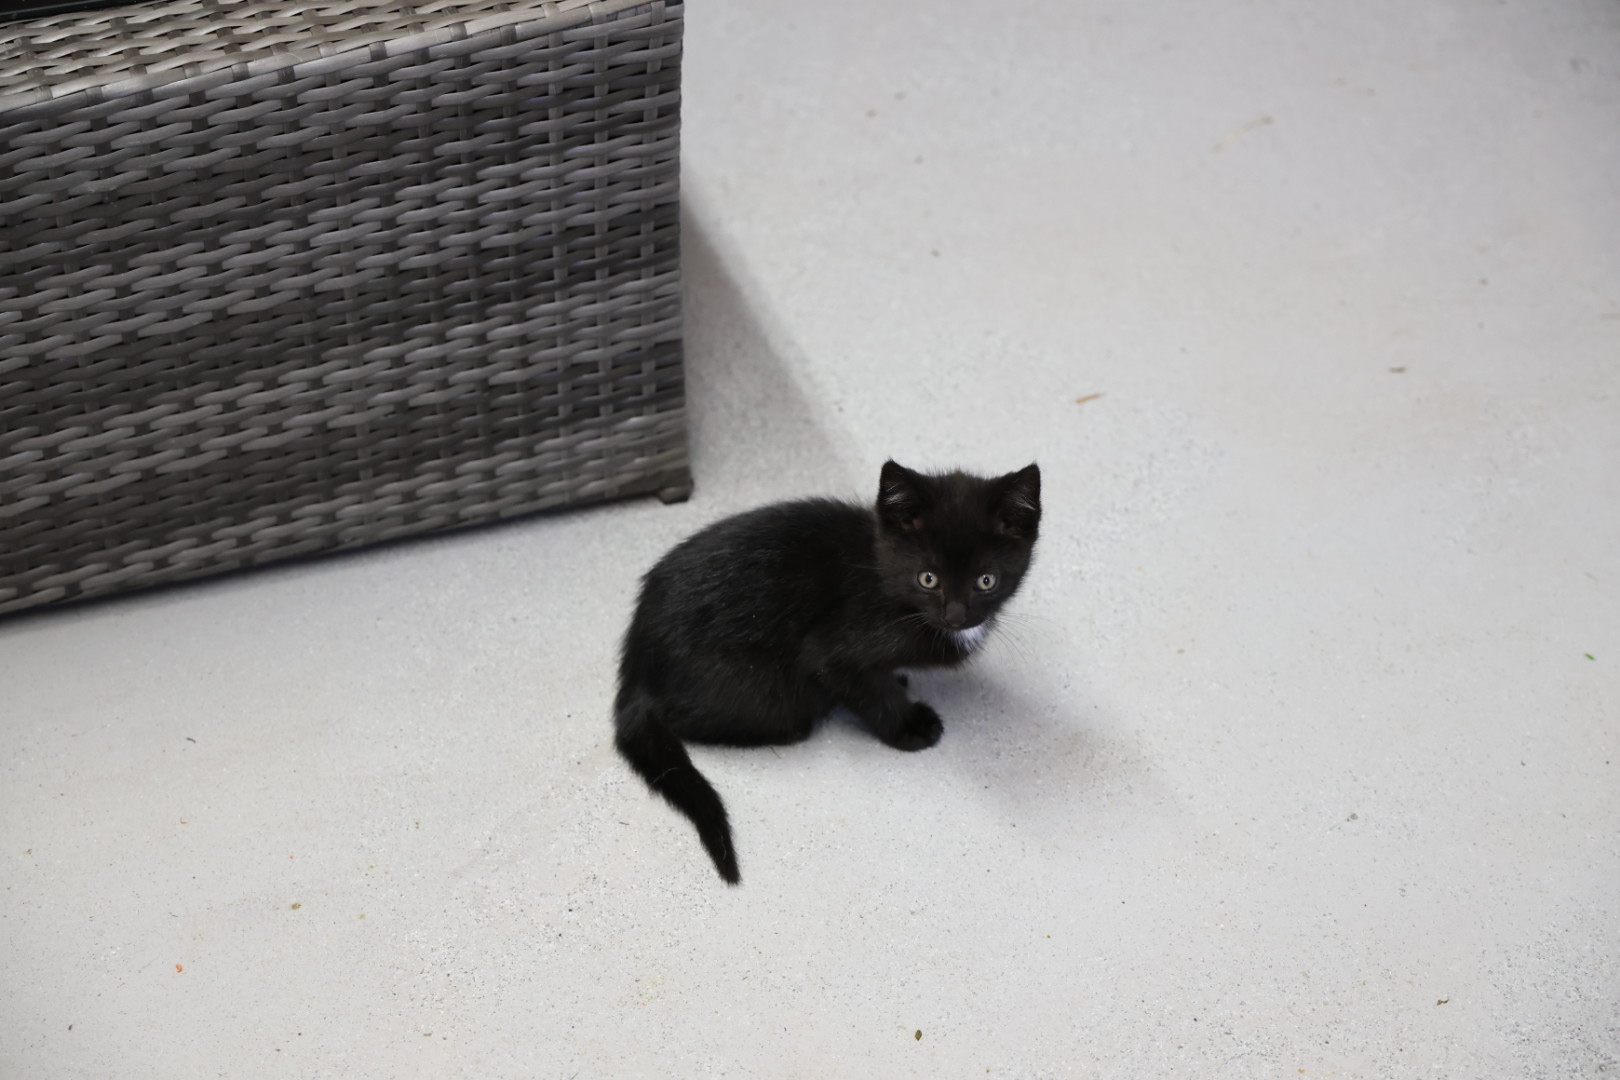
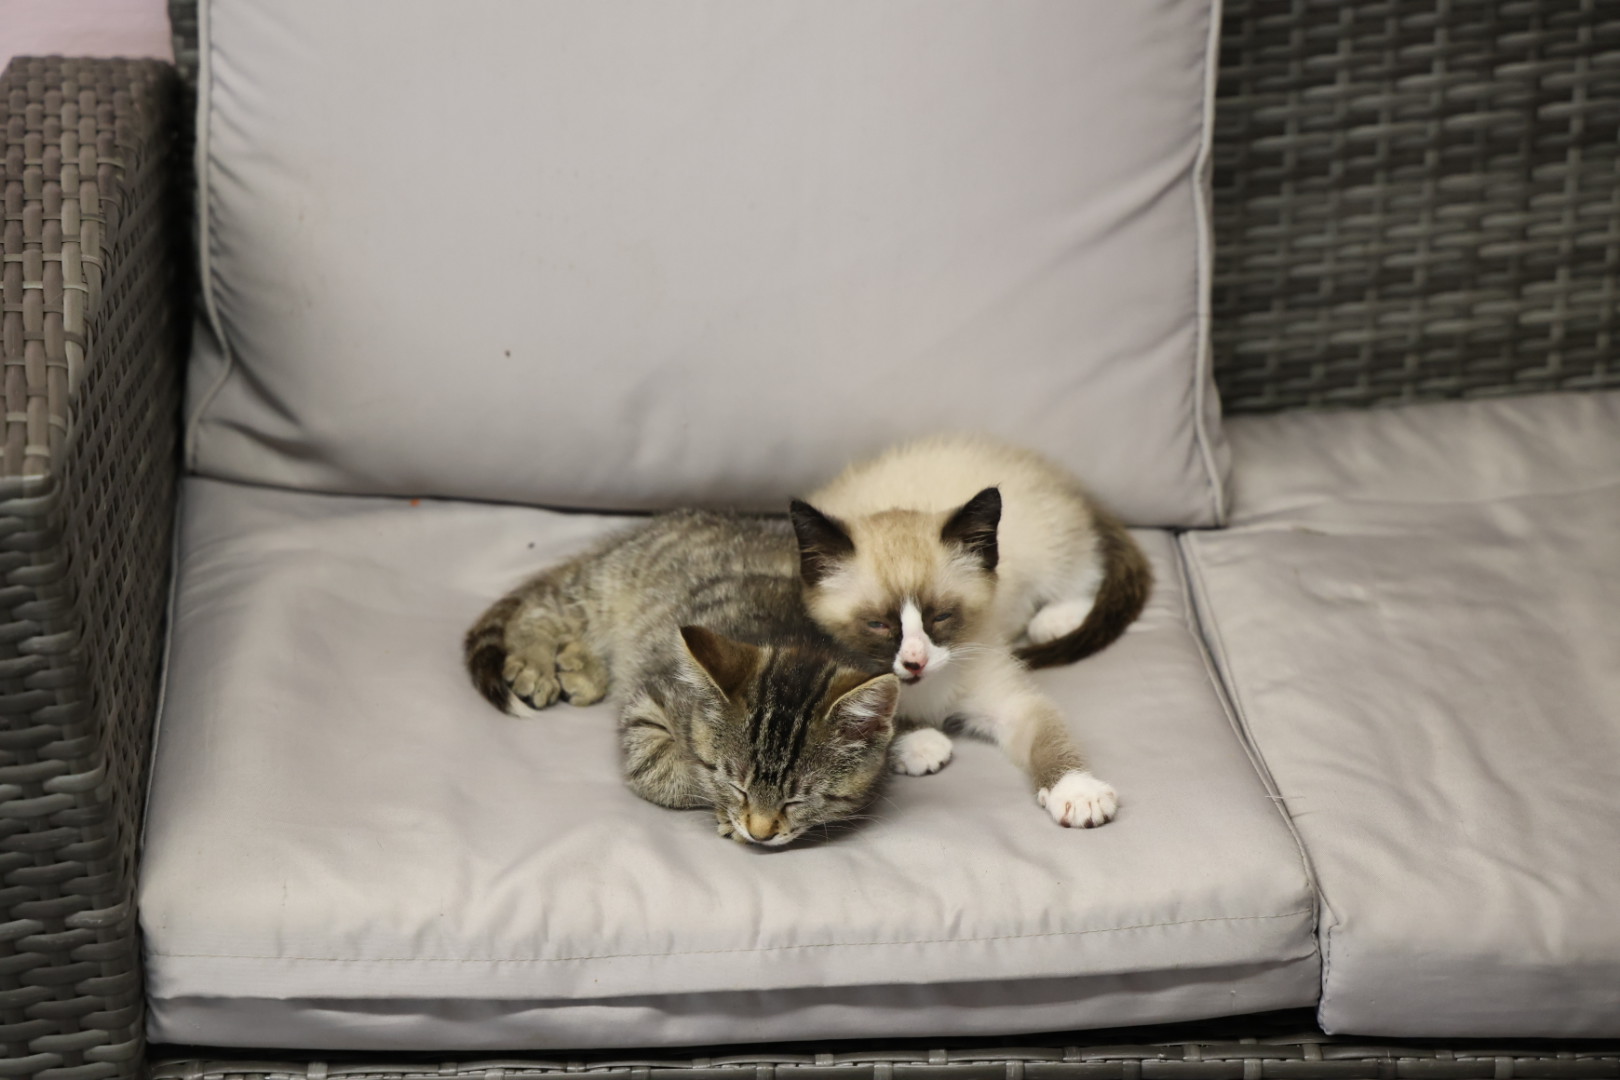
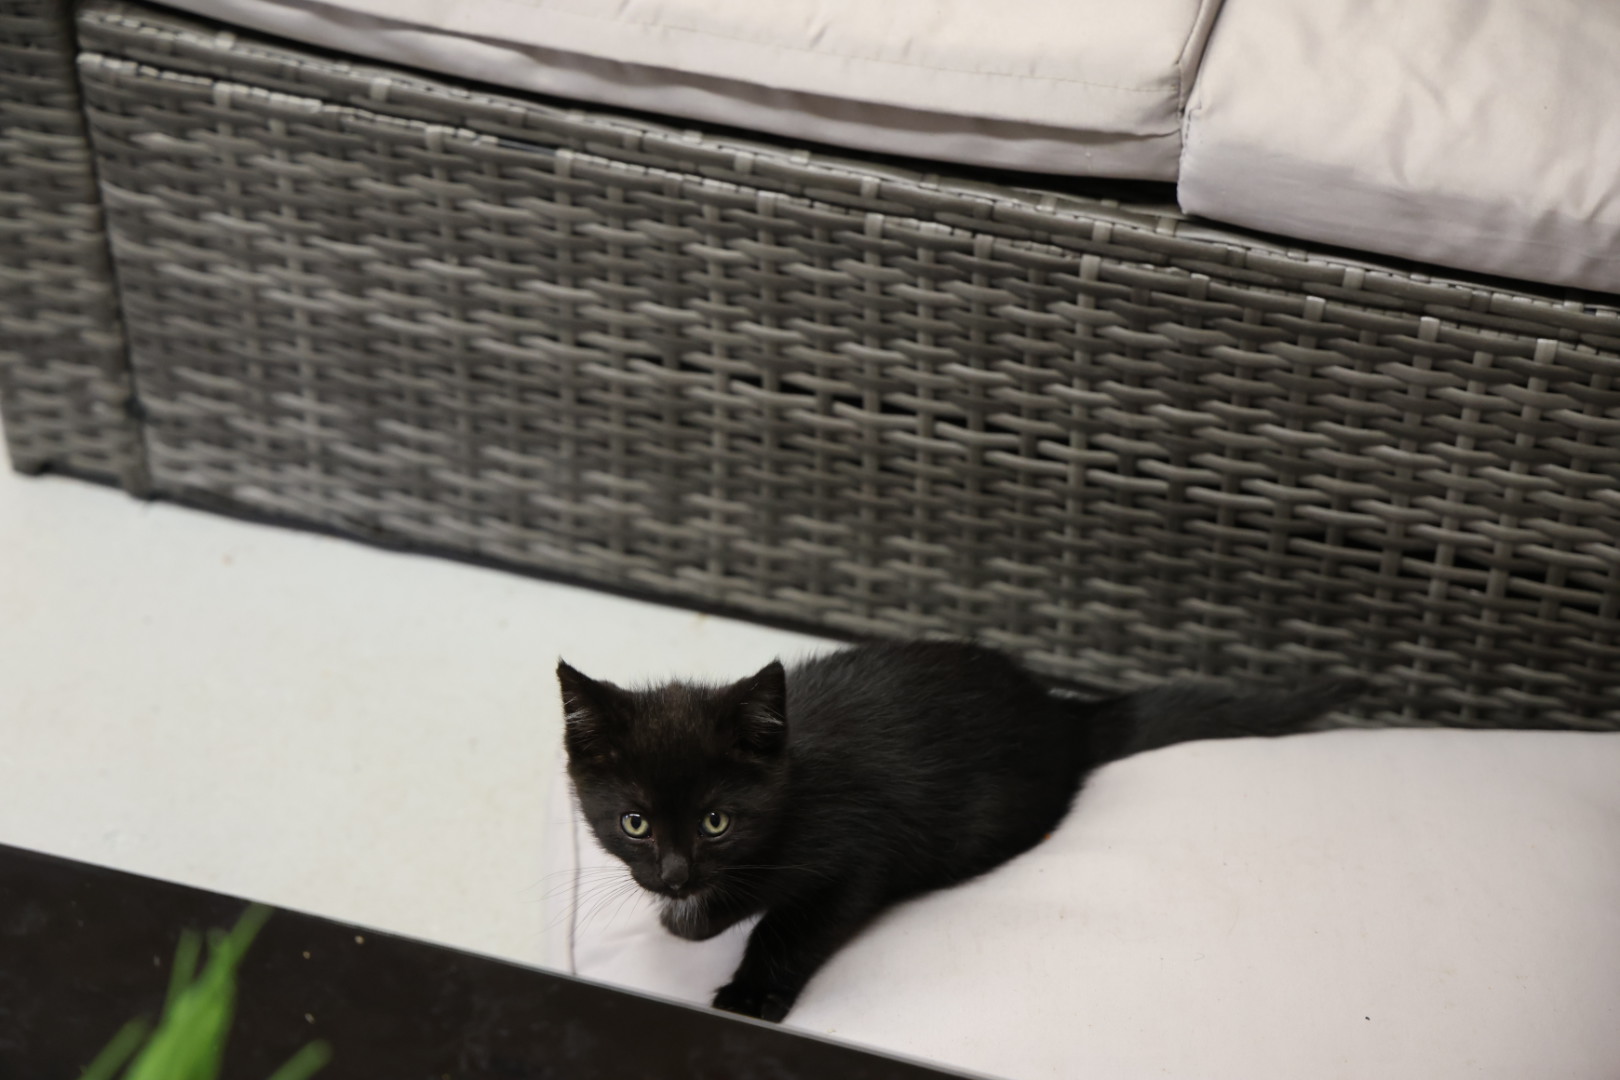
I am super excited to write about this! Because this is not only a lesson on ISO… it is a story! If your new at photography and reading this, congrats! You have taken the first step in capturing moments that will last forever! So now lets get to the good part! This picture you see on the right is a rescue Kitten named Midnight. We found her on our back porch one night lost and hungry. We fed her put, her in a cage for the night, than introduced her to our other kitties in the morning. You can see in the portrait below our other kitty friend… (his name is Sir Fredrick). This adventure of making a new friend was really and unexpected delight!
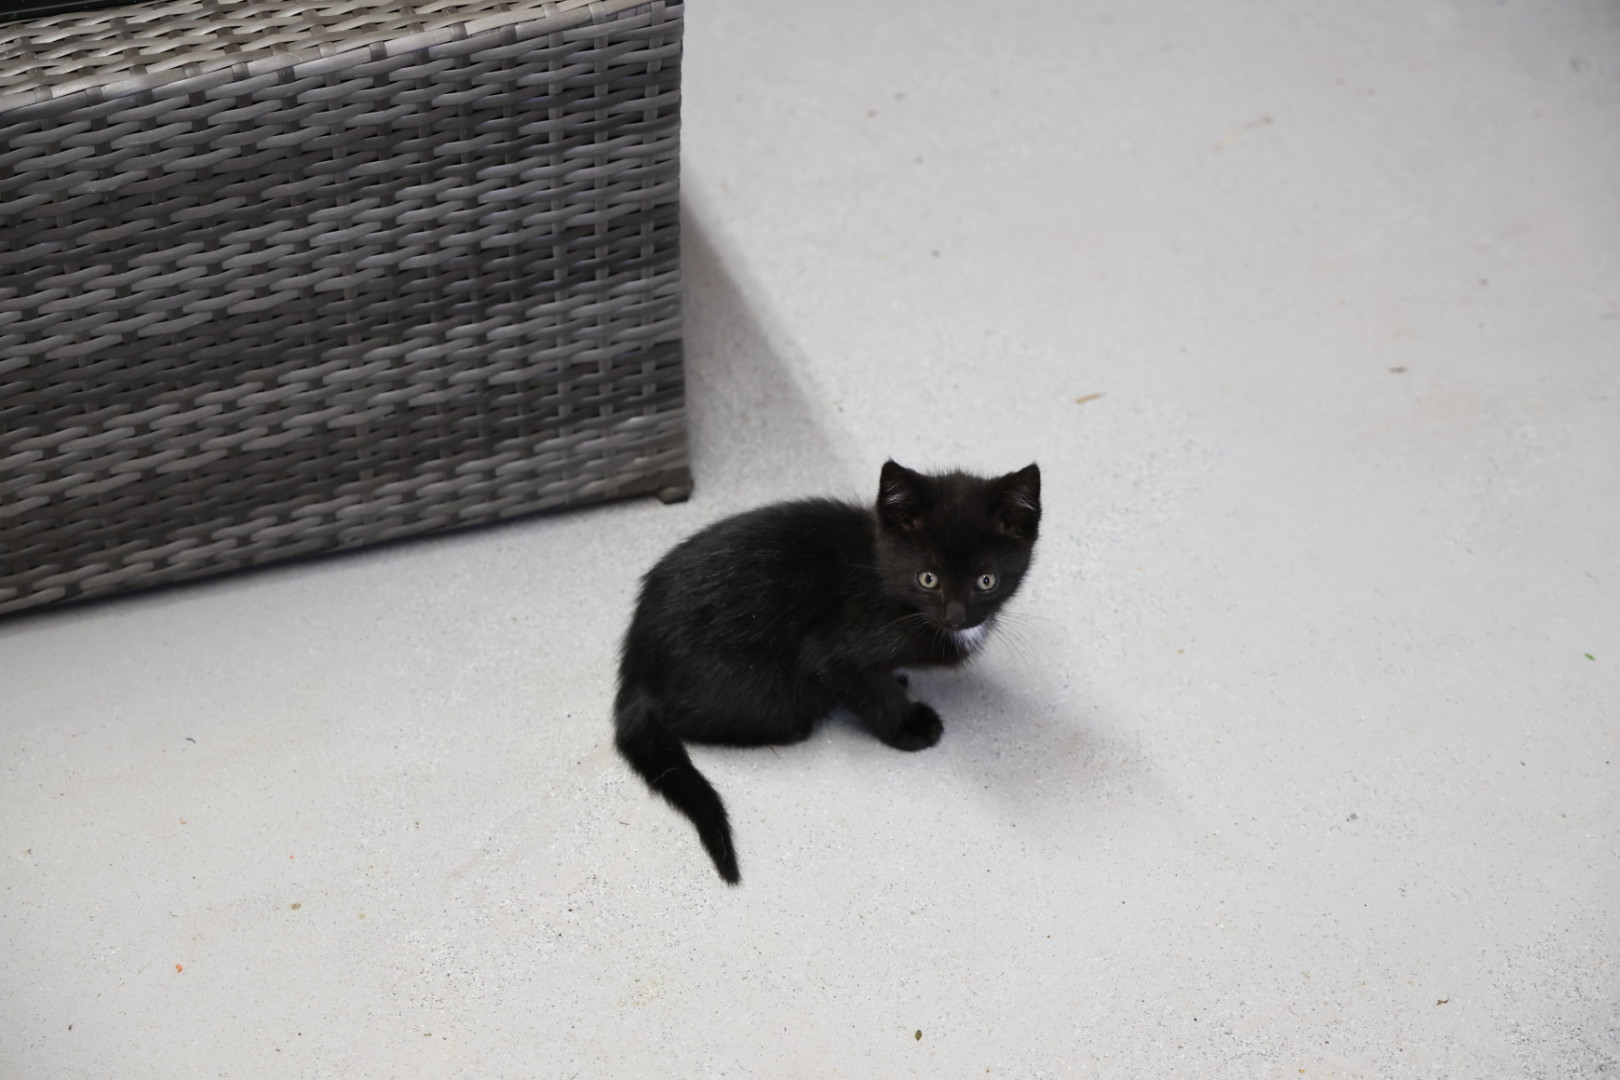
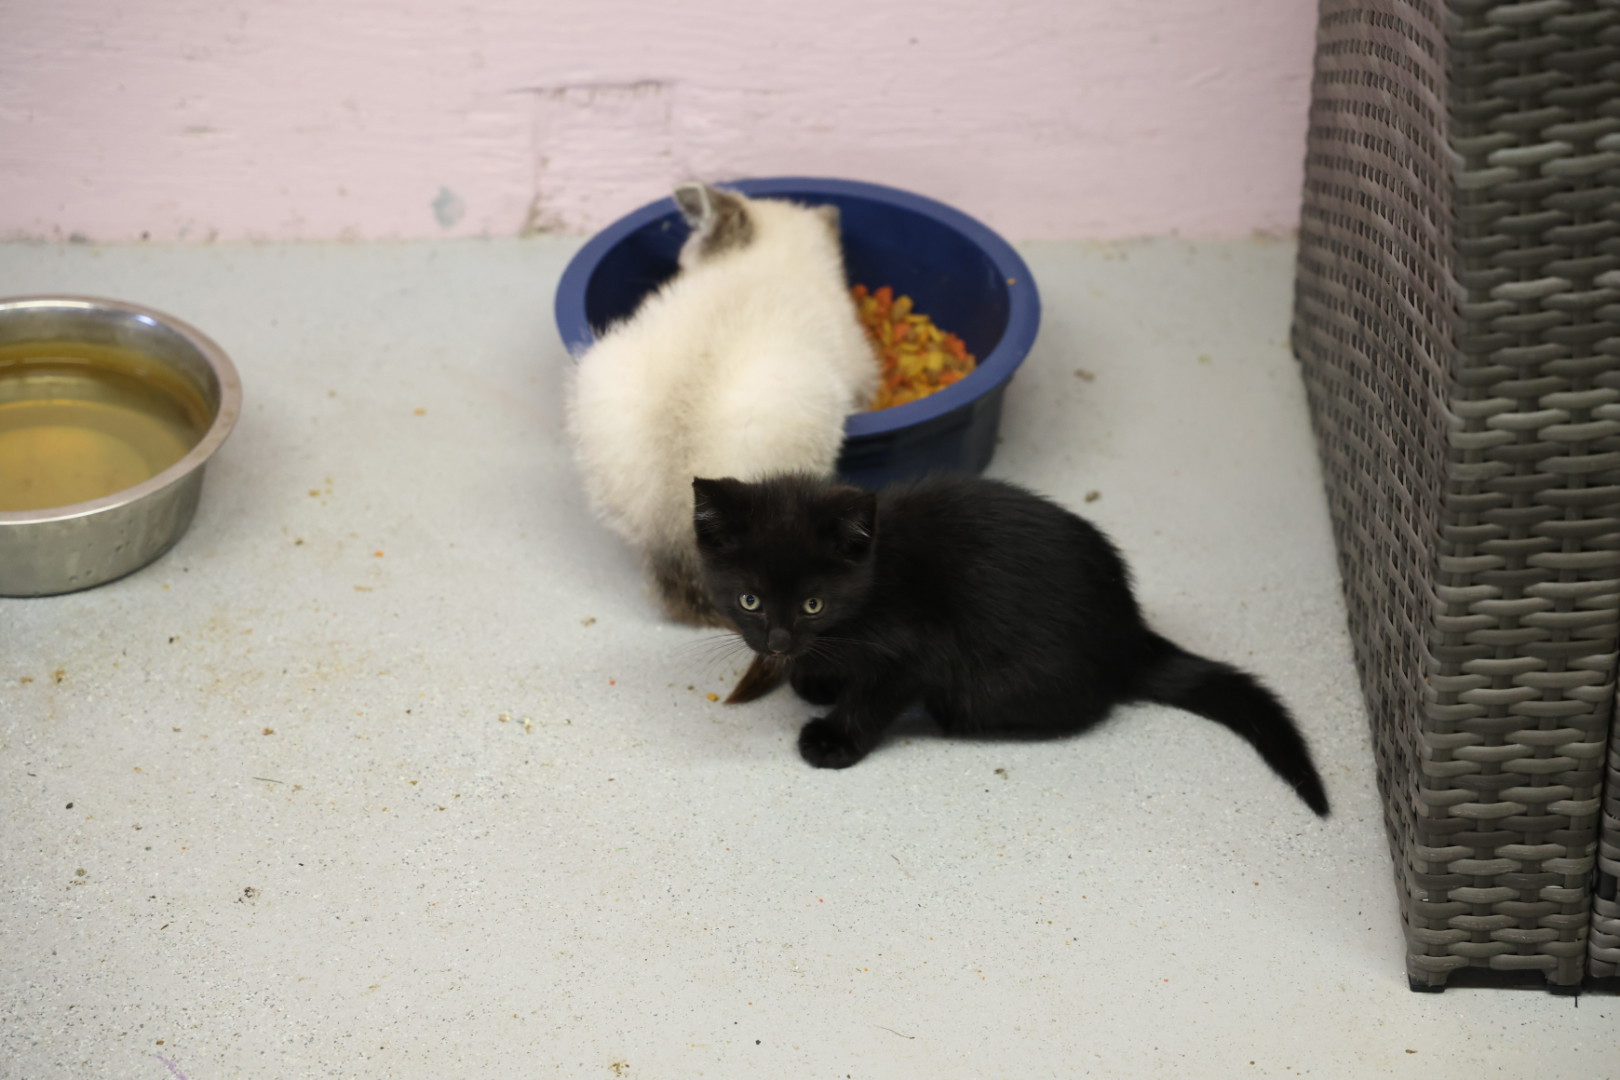
Now I don’t like to get above 4,000 ISO, but depending on the circumstances, sometimes you have to splurge. But typically 4,000 ISO is how high you want to go without changing anything else; ISO should be the last thing you change when adjusting to the exposure. I shot the photo above at an ISO of 5,000 an aperture of 4.5, and my shutter speed was 1/500. Tip- If your shooting in an environment that has lots of light bump your ISO down. But in my case the room had ok lighting, but it was cloudy outside, so there was little natural light, and the kitty was black. In order to capture the deep black of the fur, I had to bump the ISO up. Also, I had to bump the shutter speed up as well.
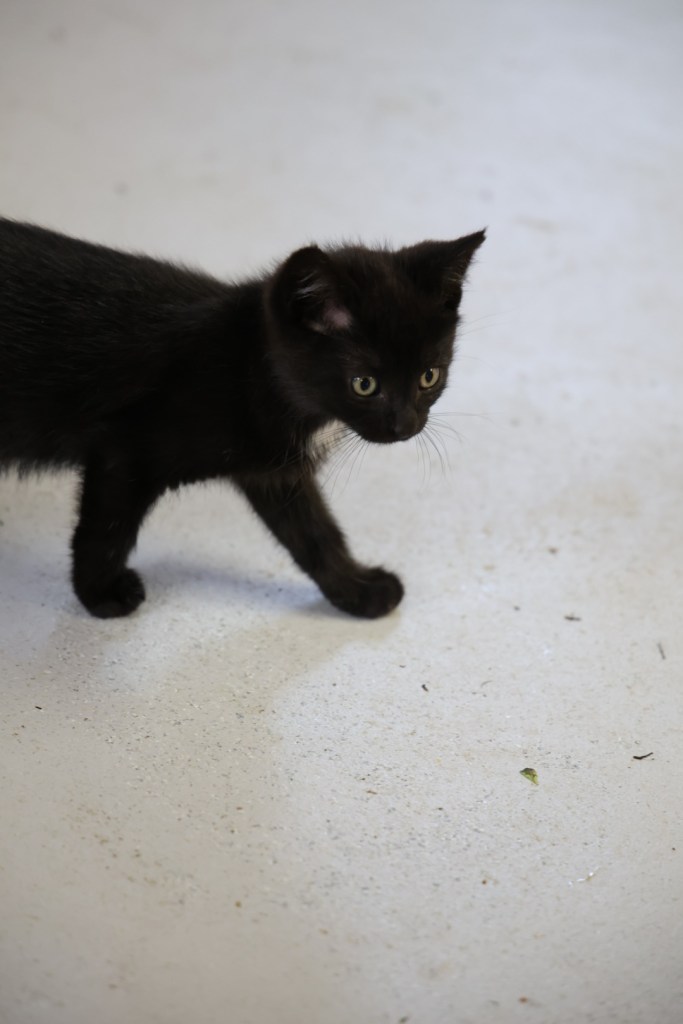
ISO In a Nut shell…
ISO in a nut shell is this- the higher the ISO the more grainy, your picture will be; but your picture and subject in general will be brighter; it also allows you to use a faster shutter speed. The lower your ISO the darker your image will be, but the image will look cleaner.
Don’t settle for inside the box pictures, think outside the box!
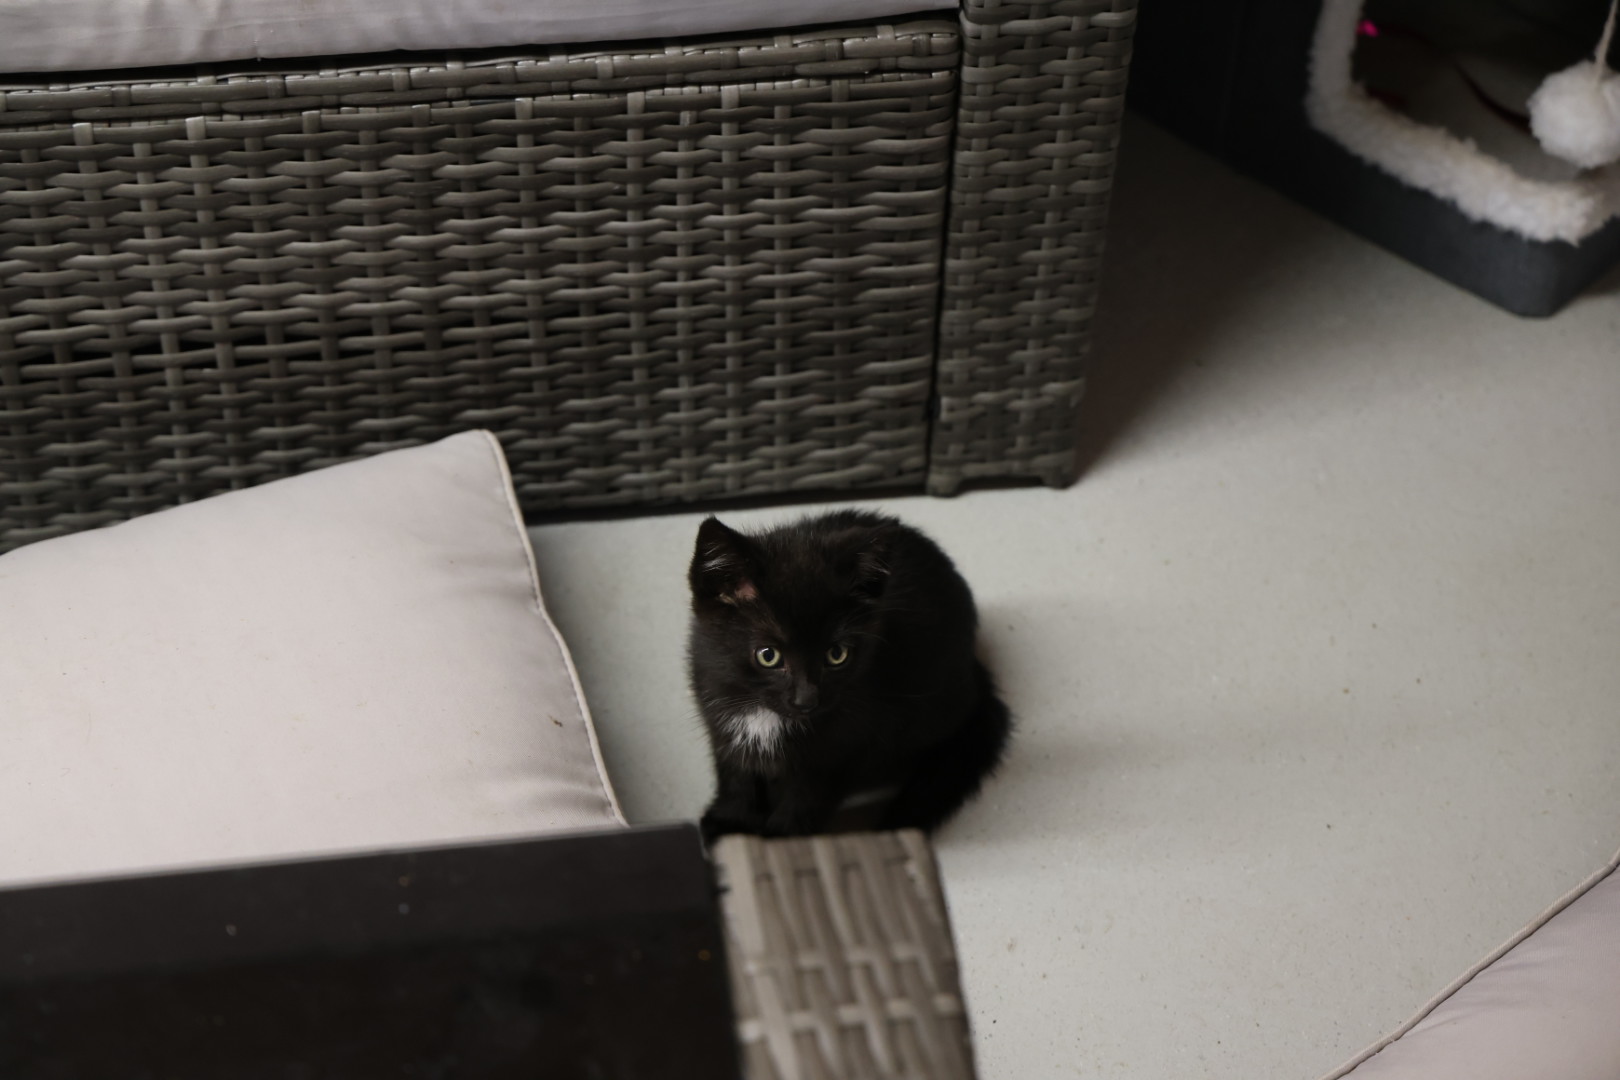
Wherever you are. Wherever you go. You can find beauty in Gods creation.
Email us at-
Want more Tips, Tricks, and Techniques?
Tap me!