-Dance Poses-
-Tips and Tricks-
Have you ever done a dance photo shoot? If so what was it like? Ask yourself this question… “what was the hardest thing about it?” Well if your not a dancer one of the hardest parts would be knowing how to pose them, and what will look good. This is why I am going to enlighten you with five easy dance poses that are guaranteed to work, so you will never have that problem again!
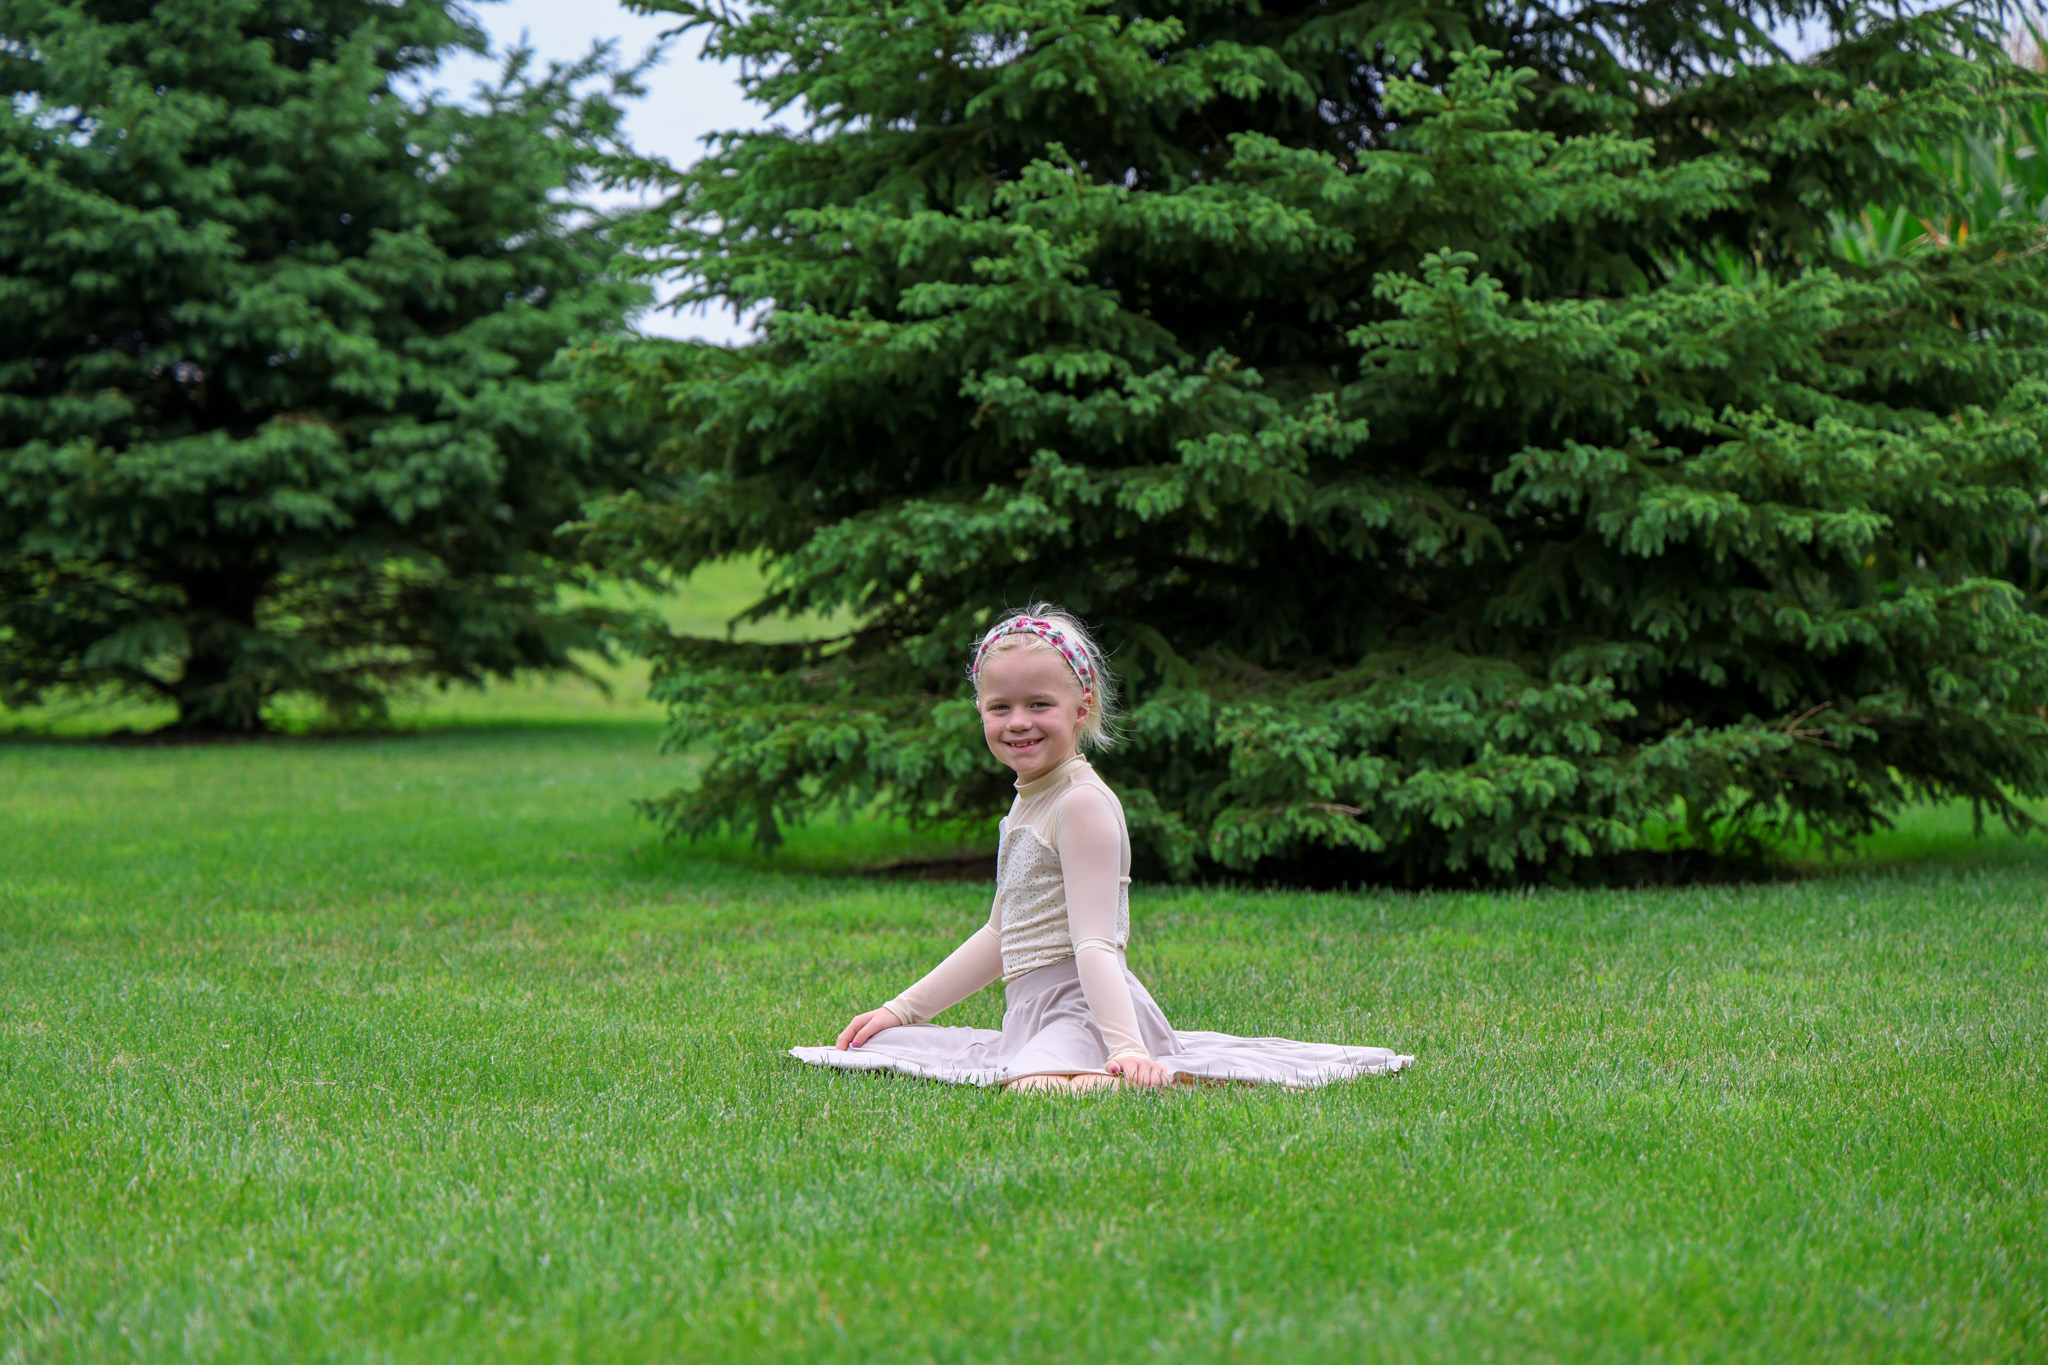
-The 5 Easy Poses –
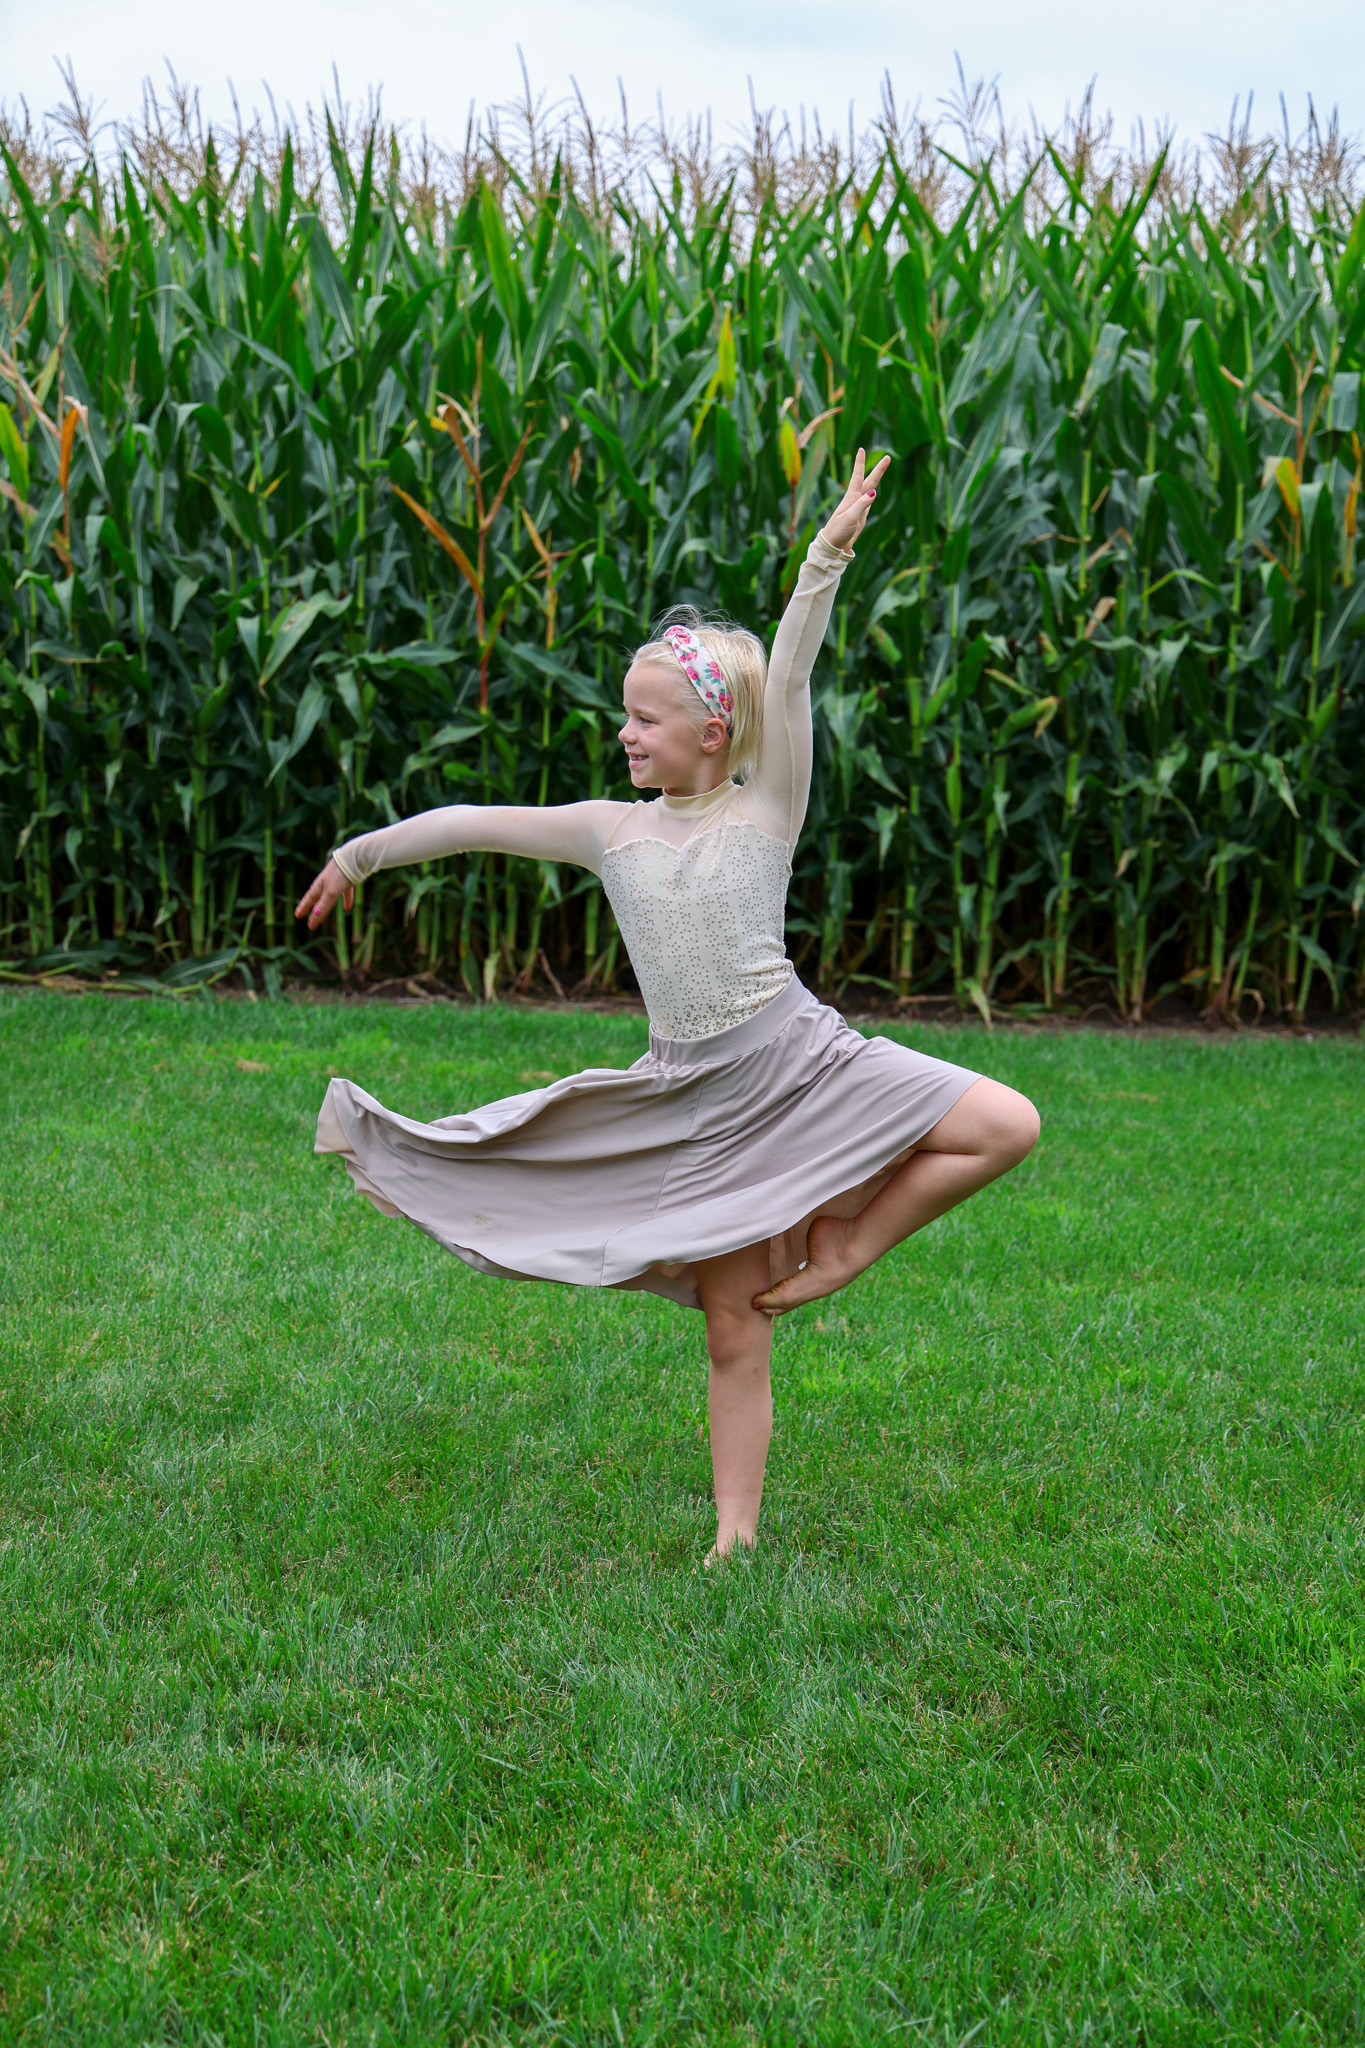
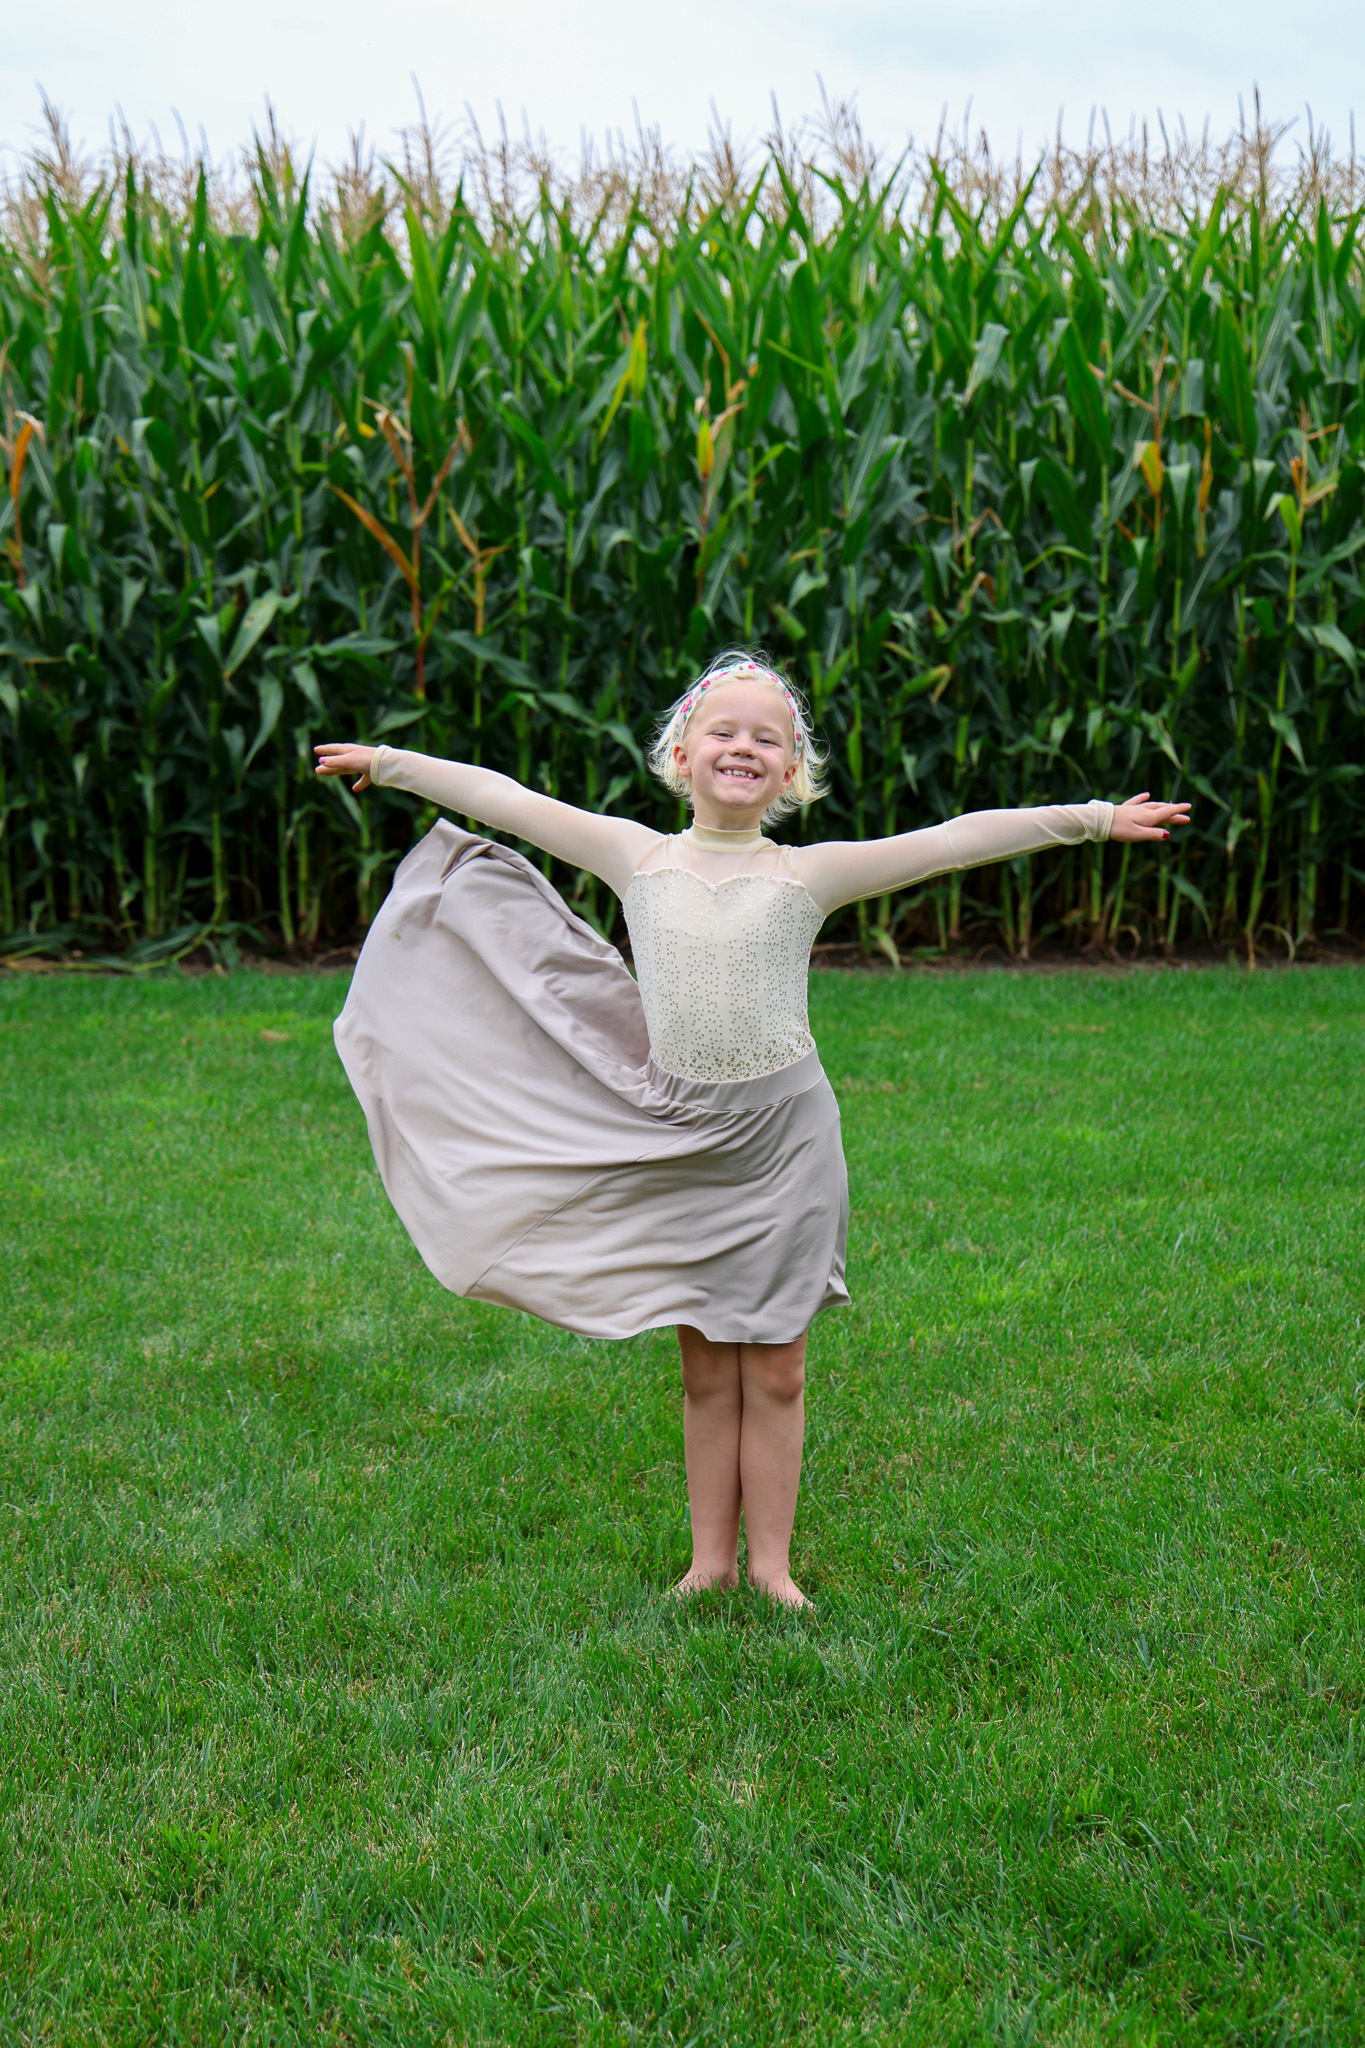
#1-Pass’e– This is a relatively easy pose, but it looks good. As them to bend their leg at the knee; than connect their toes to their other knee. You also can choose what you would like them to do with their arm. An easy way to go with the arms is to have the subject hold their arms in high fifth. But my personal preference is to have them lift opposite arm as leg parallel to the ground. Then have them lift same arm as leg at a slant a little higher than the one in parallel; then have them look up at their hand. This gives the picture a more elegant feel, but my favorite way to use this pose is to have the subject throw their skirt, than pose. It gives the picture a playful feel. One tip for this pose is to bump your shutter speed up a little bit because the skirt will only stay in the air for so long; and to capture this you will need a higher shutter speed. Read -Trending Ahead Of Everybody else- to explore why you need a higher shutter speed.
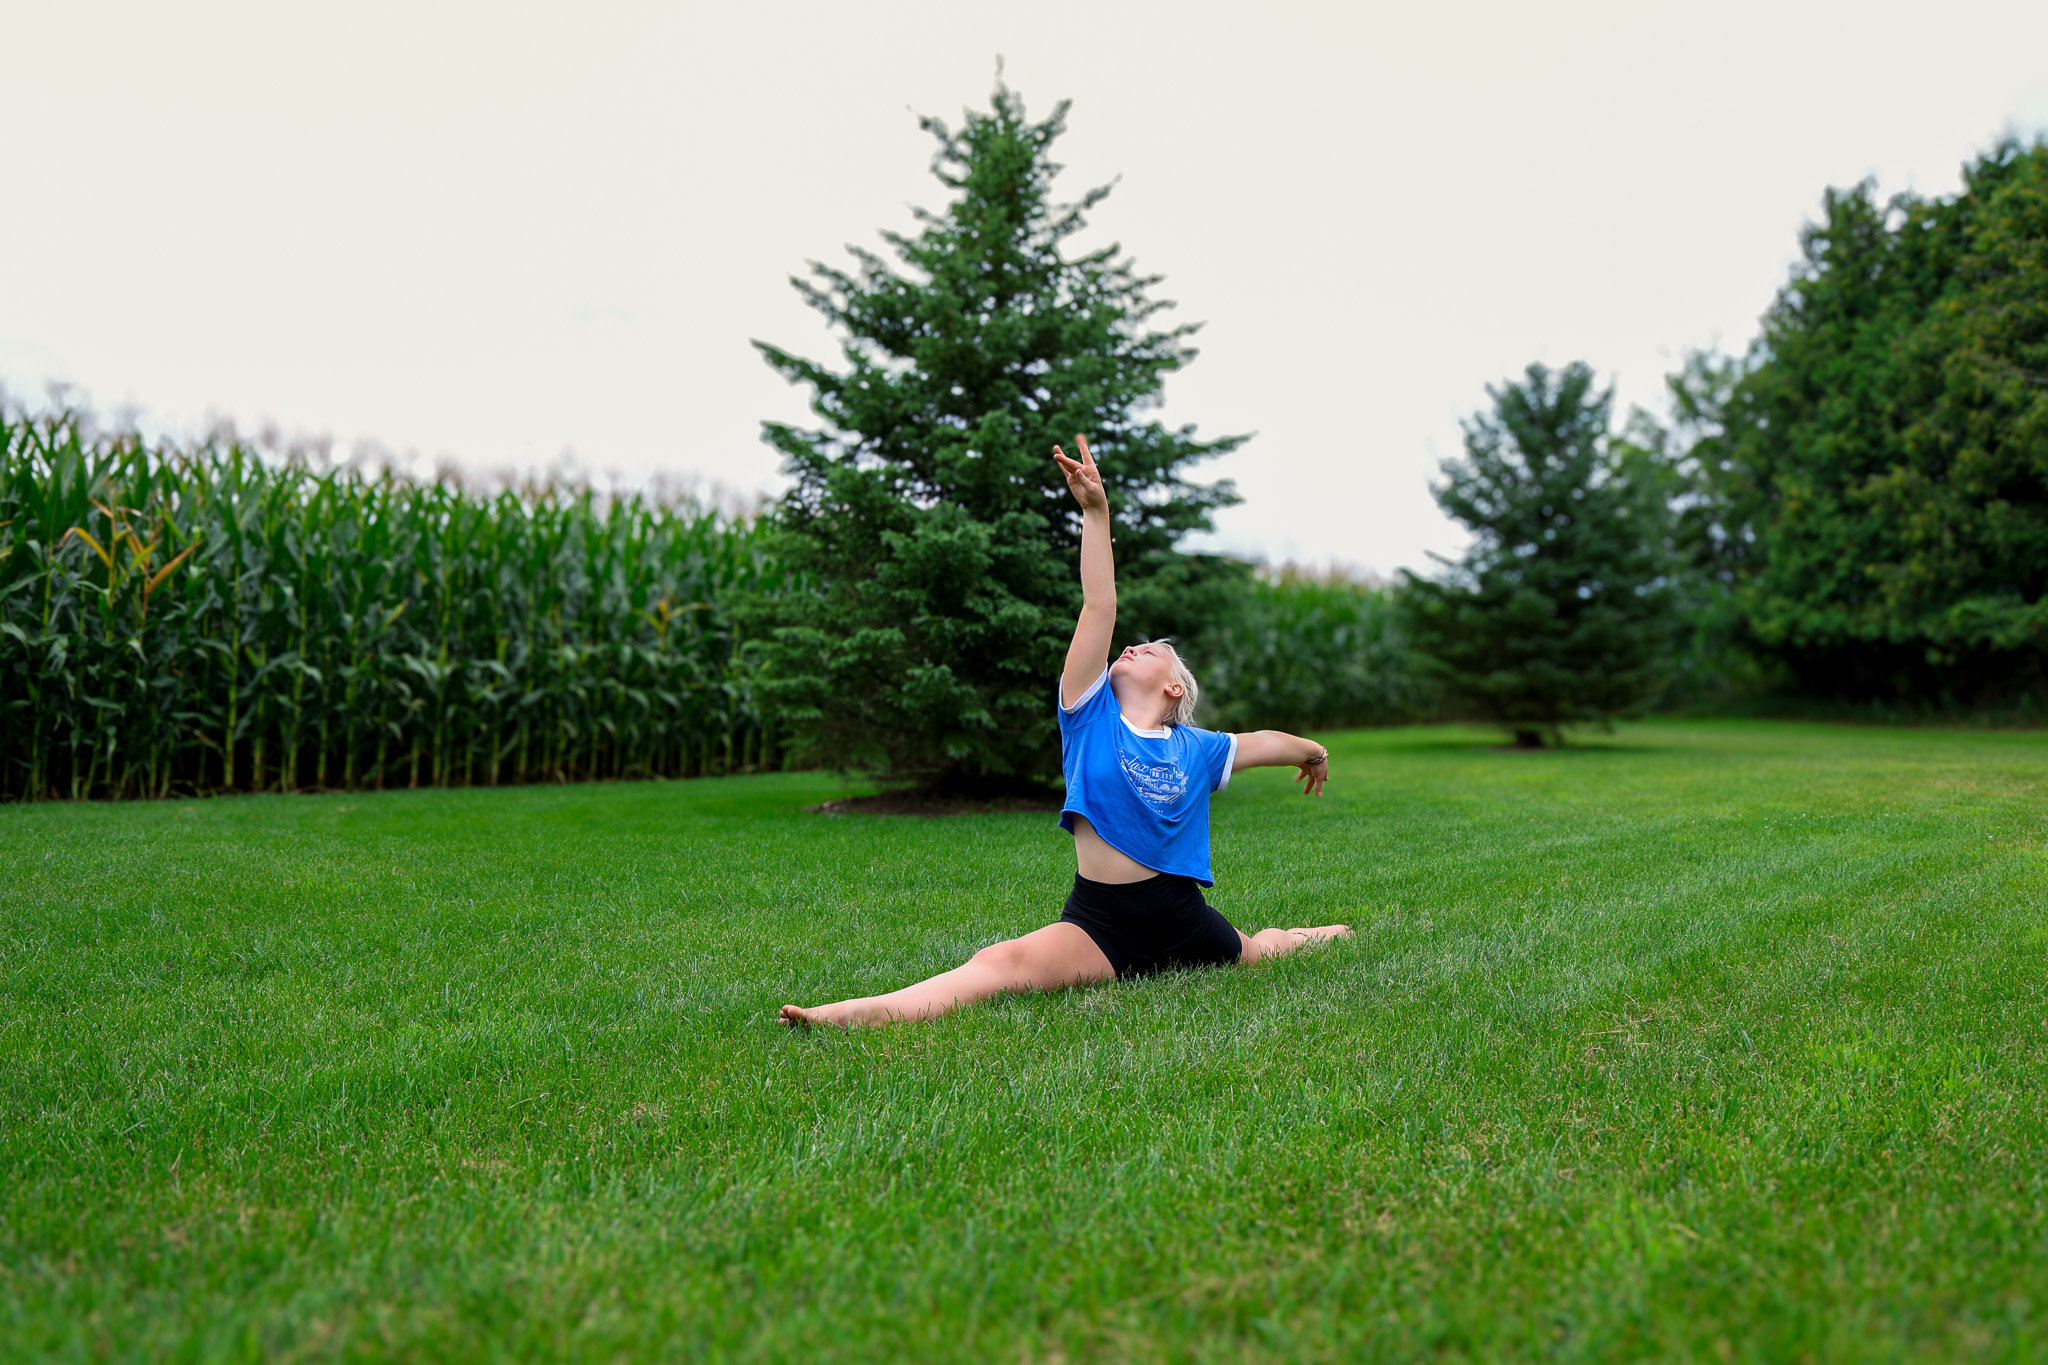
#2- Splits– This one is pretty simple as long as they are flexible. Ask them to do the splits! Than you can experiment with the arms, ask them to hold them in high fifth, or put them both straight out so they are parallel with the ground. Or do what I did and have them lift one arm parallel to the ground; than hold the other arm straight up to the sky. It’s your choice!
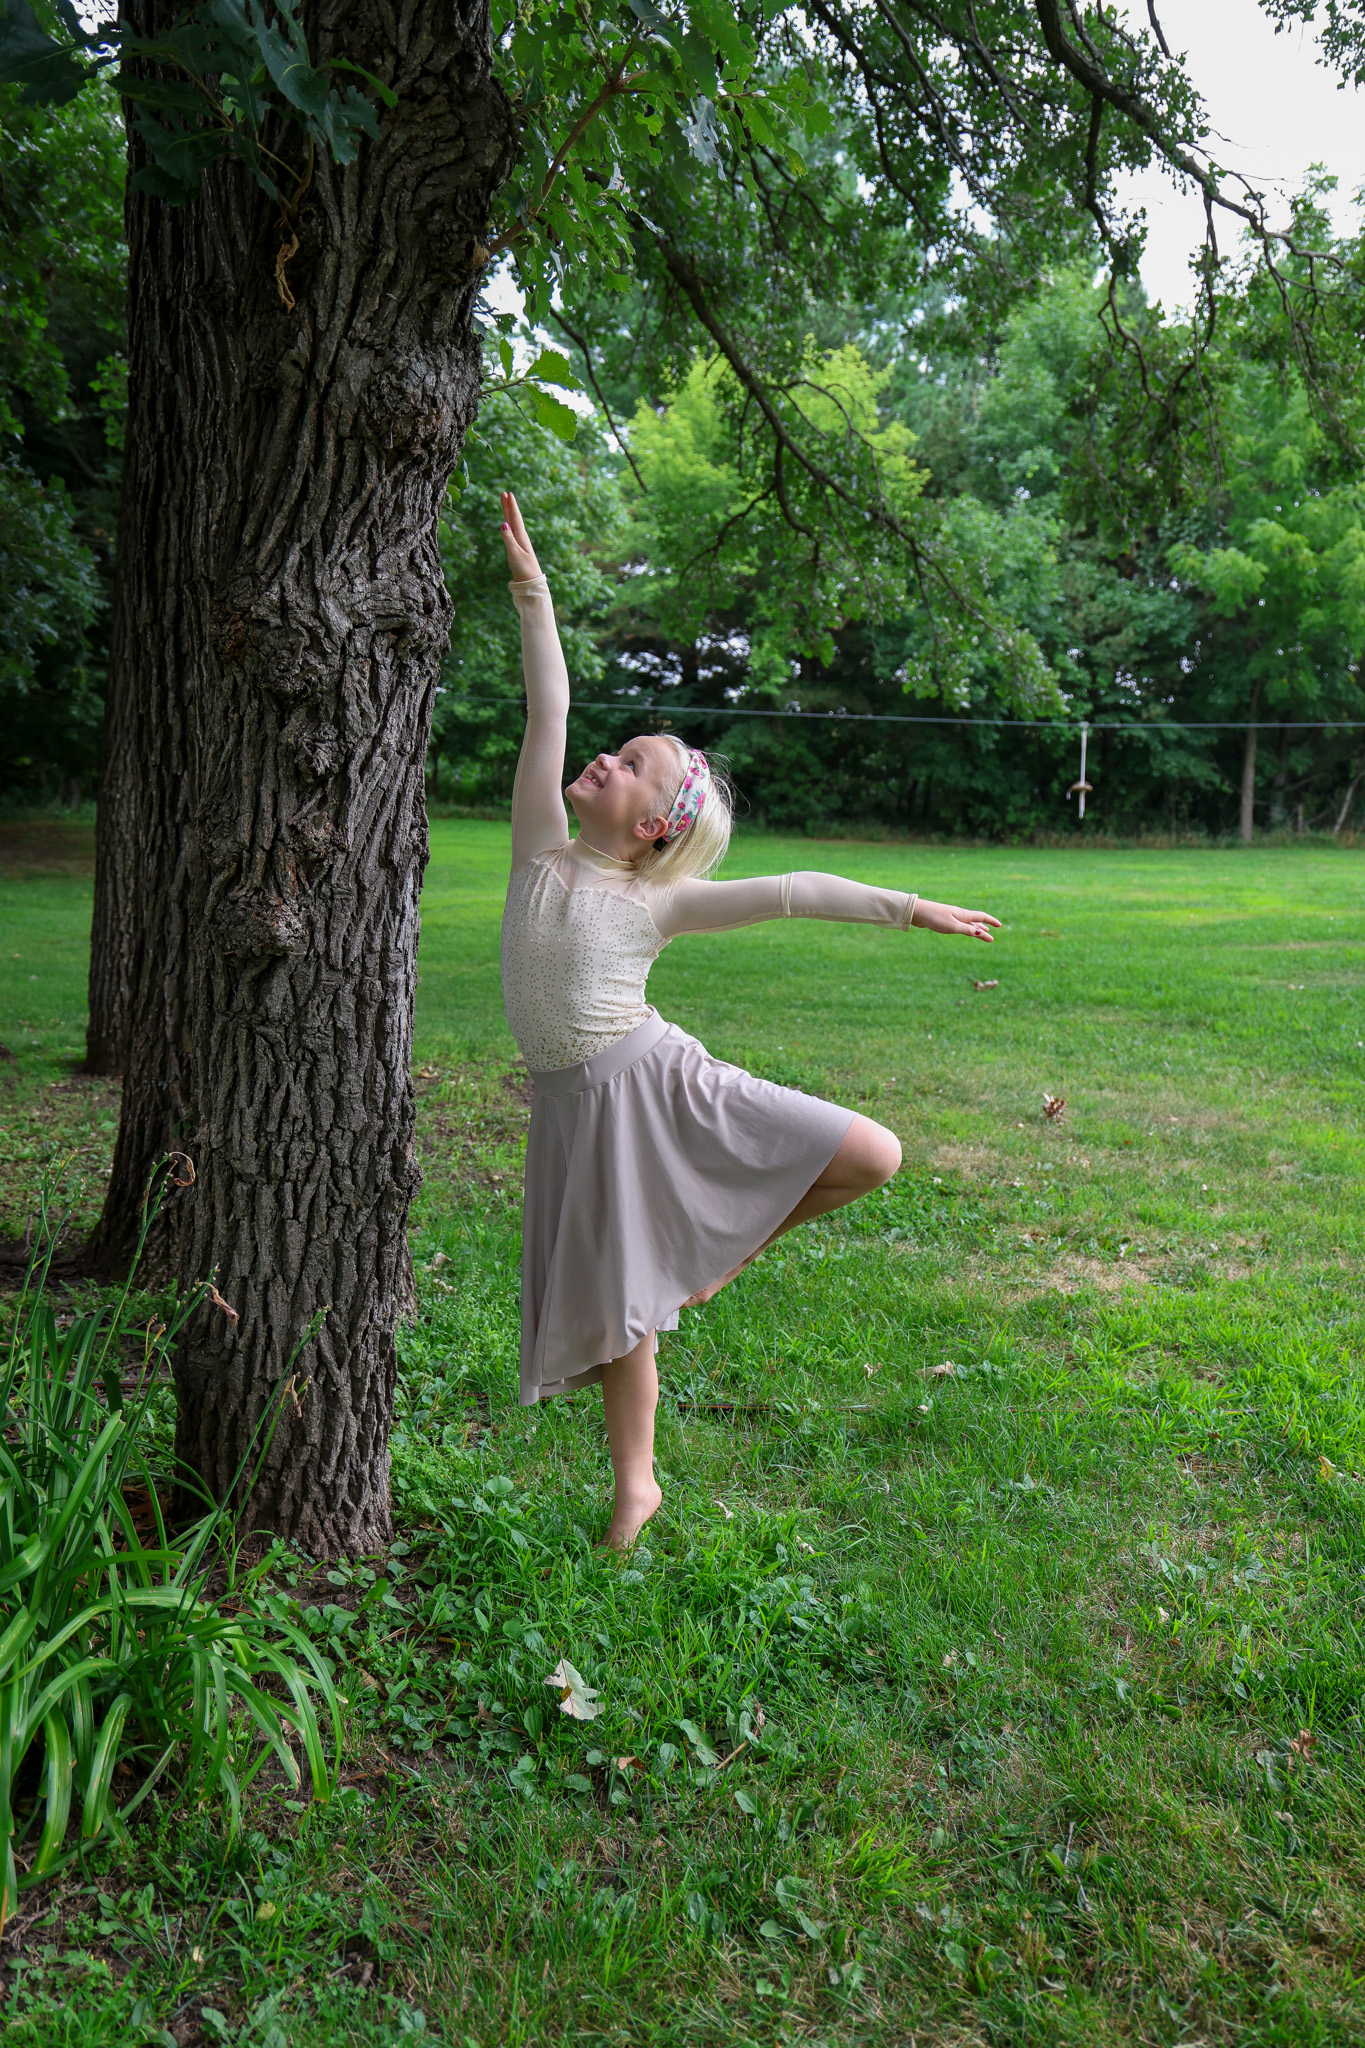
#3 –Arabesque– This one is along the same lines as the first one, but allows for more extension. The goal of this is to lift your leg at least parallel to the ground, but if the subject can get it higher encourage them to do so. Because the higher you get it the better it looks. You can use the same arm technique as the pass’e, or you can experiment!
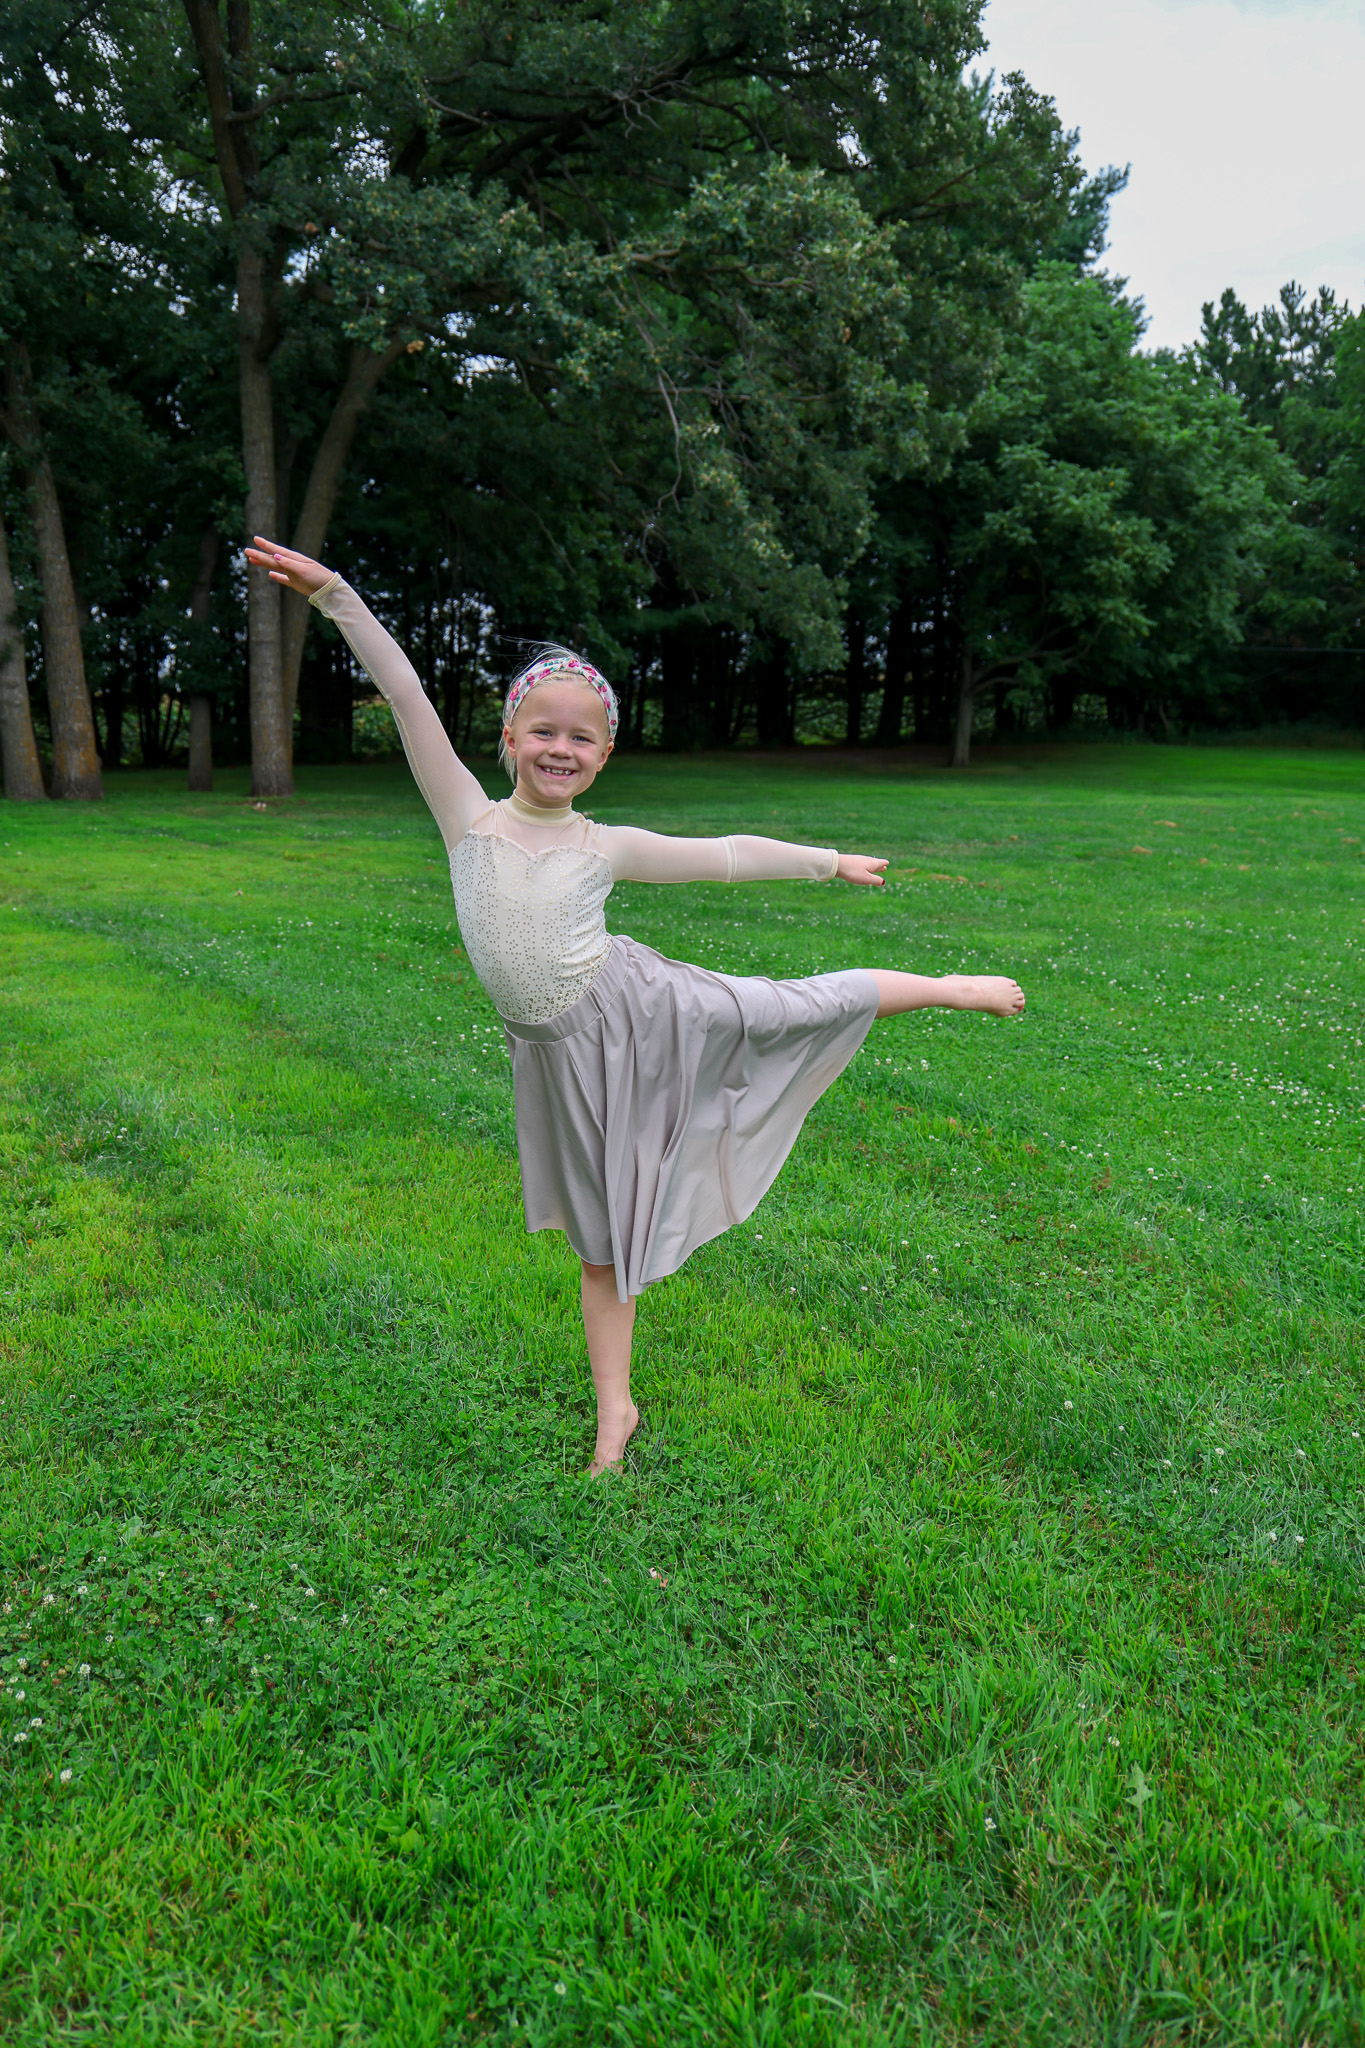
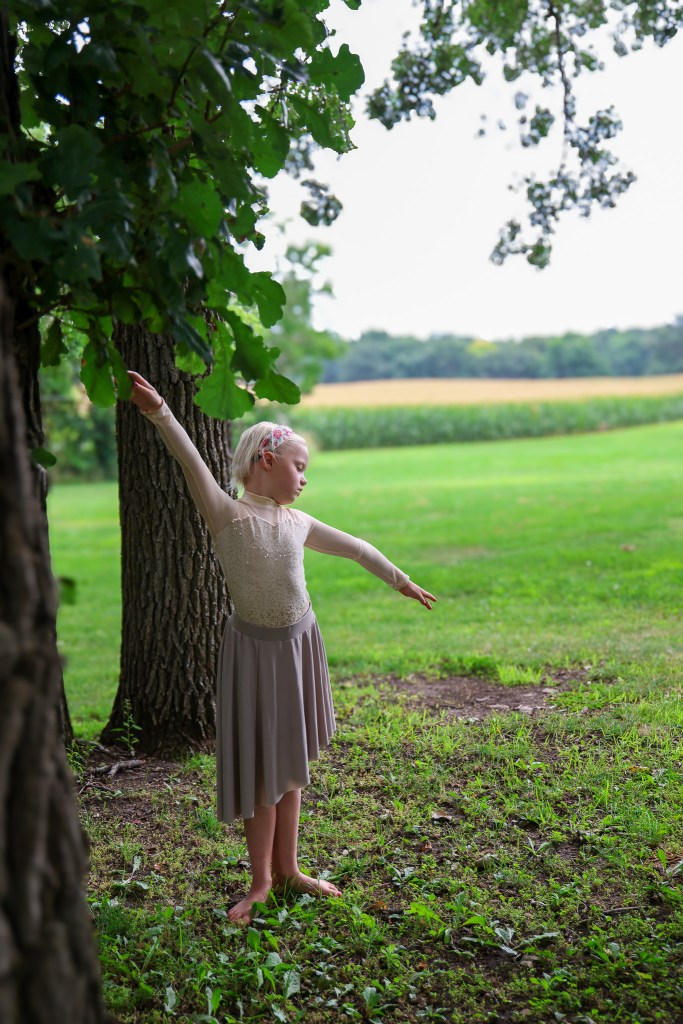
#4 – Fourth position – in this position, the dancer stands with one foot placed in front of the other, with the feet turned outwards, allowing for greater mobility and balance. The distance between their feet can vary depending on what looks good, but I prefer a little wider stance.
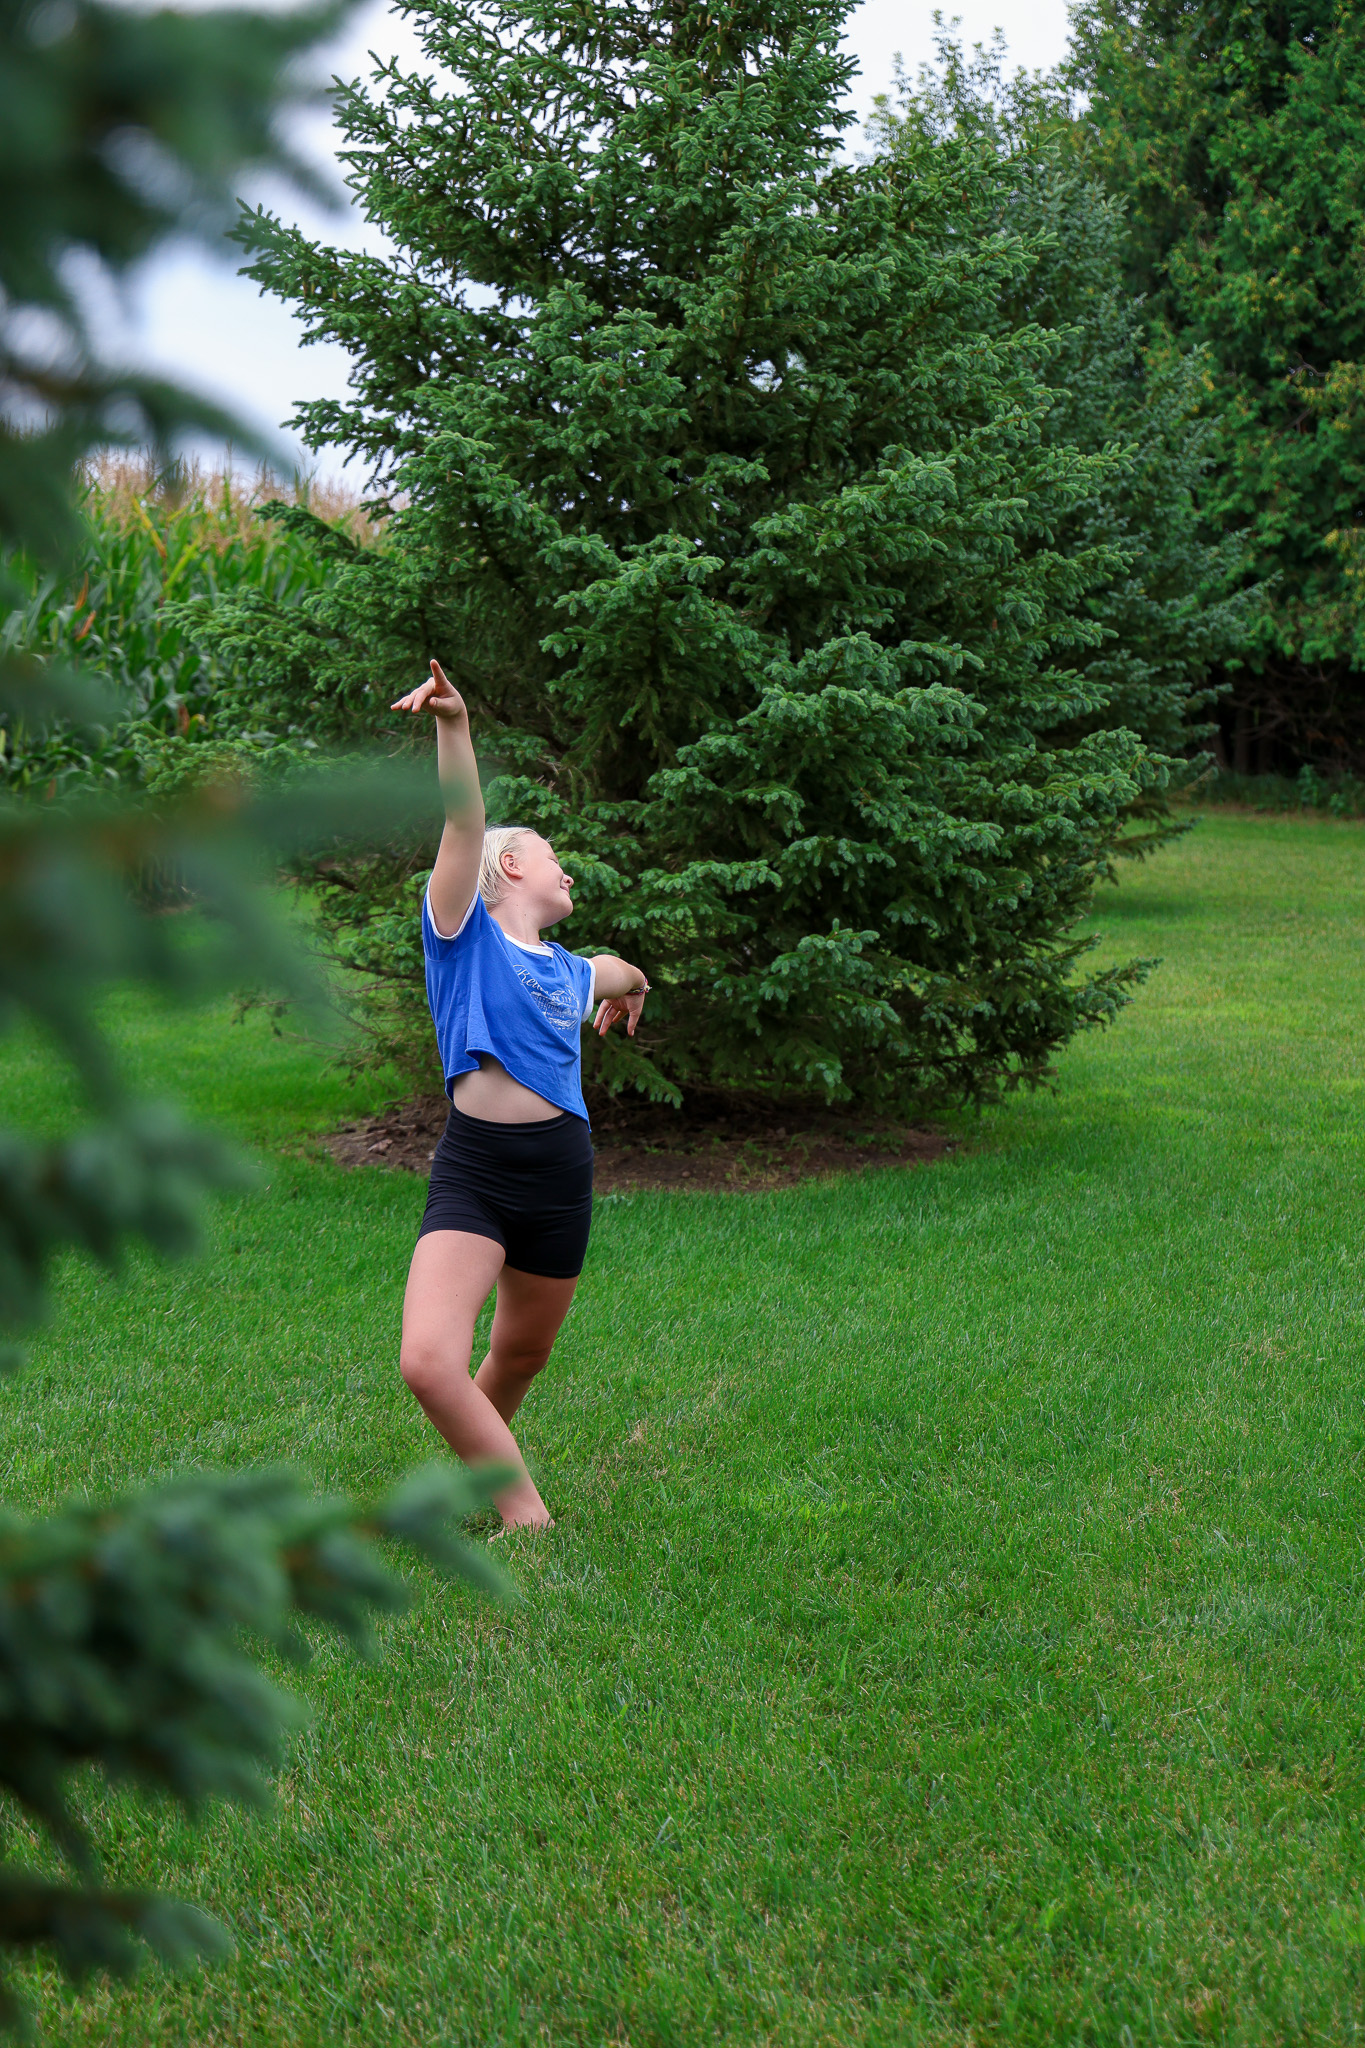
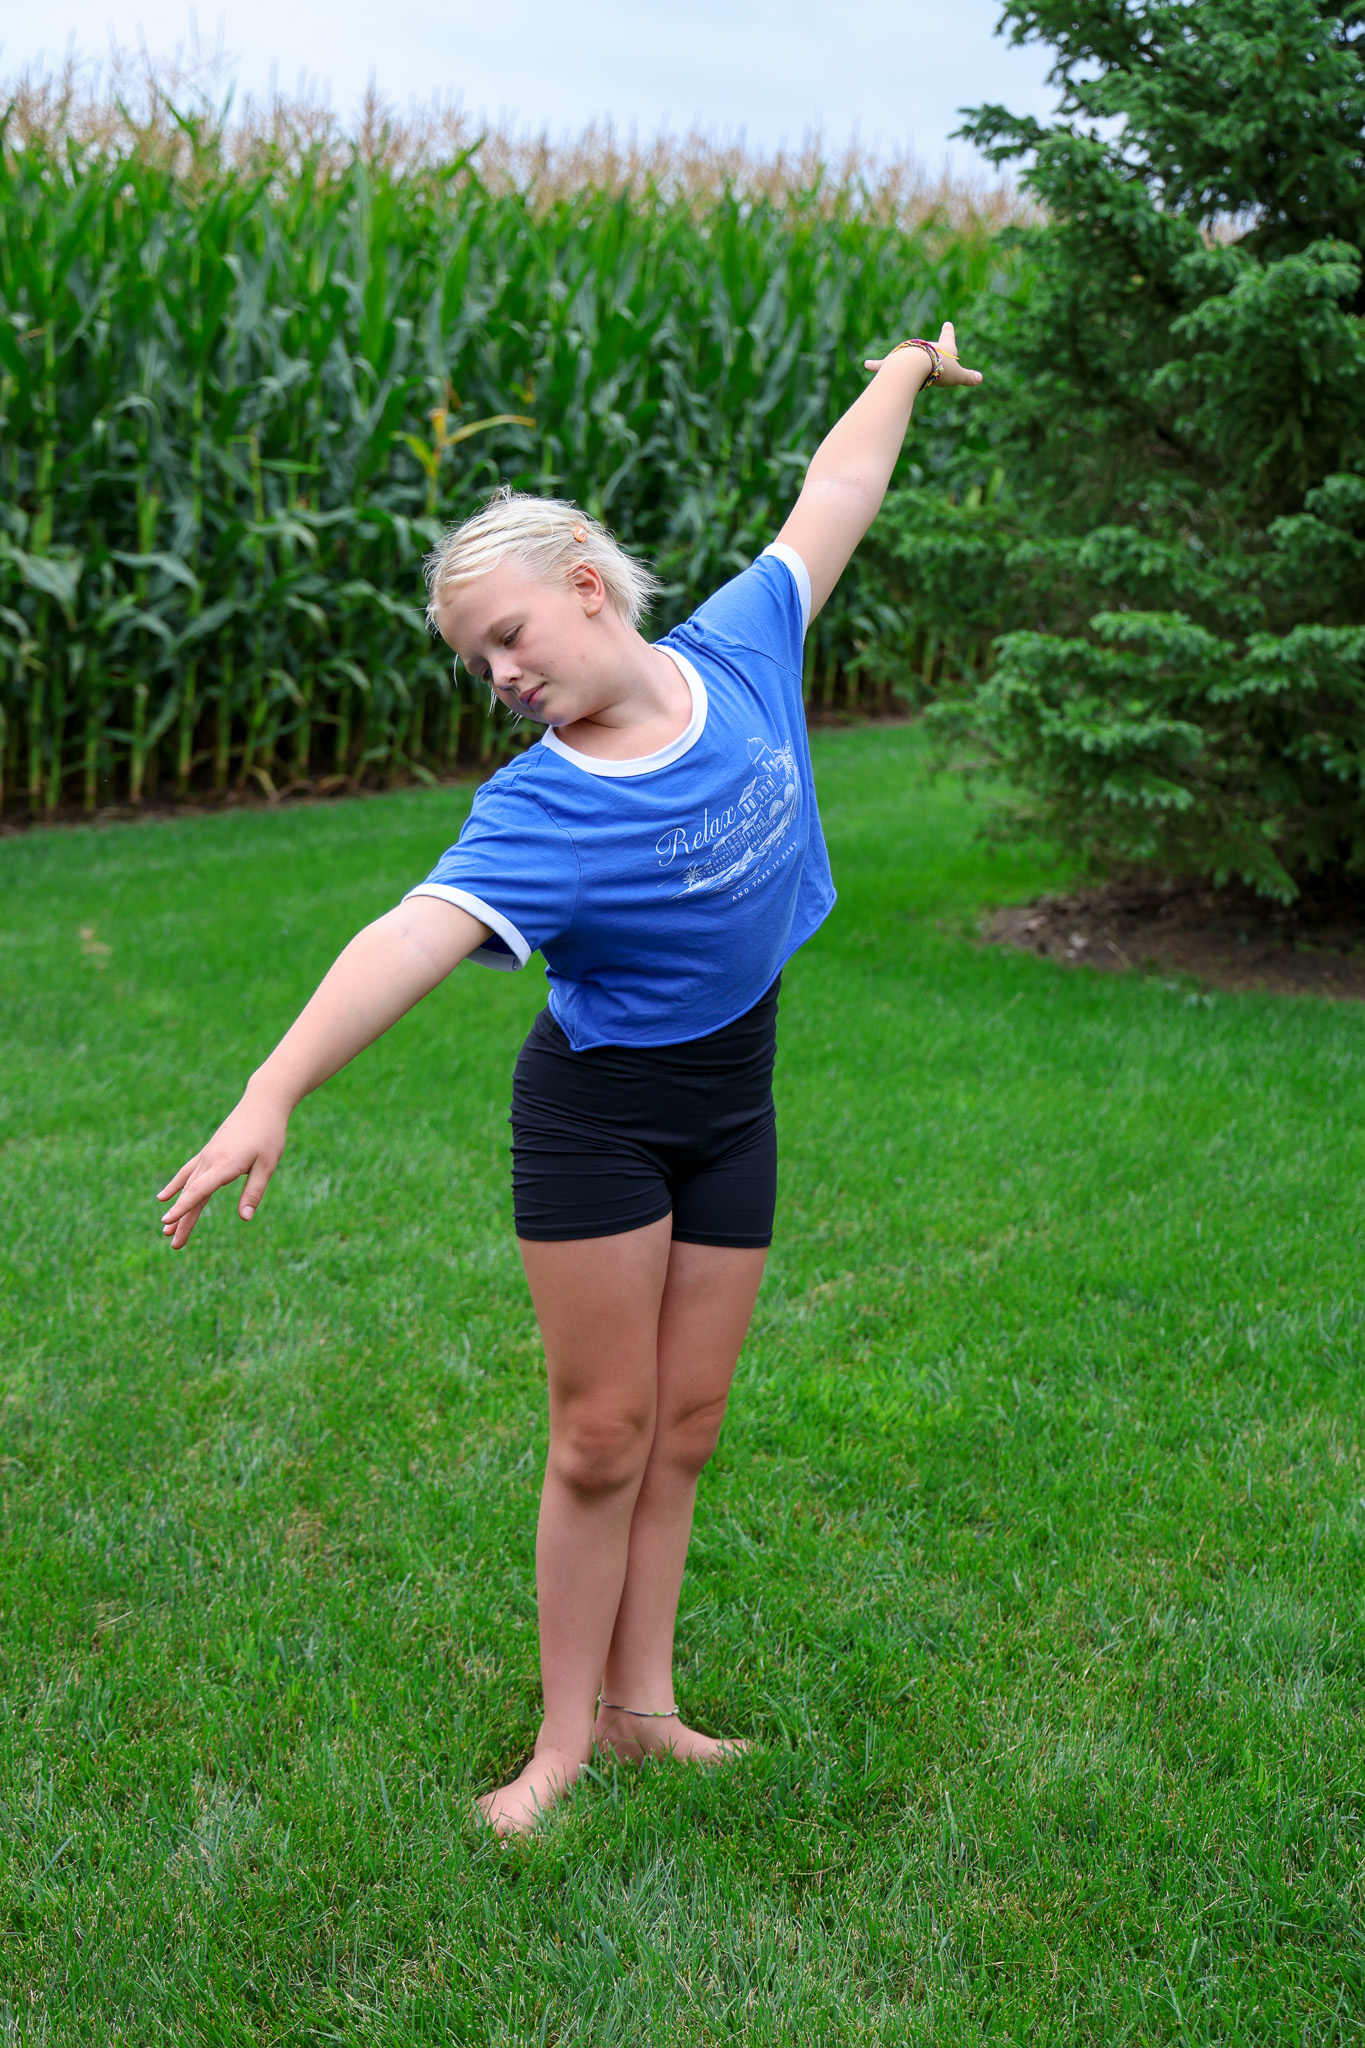
#5- First position– This a really easy way to create a pose in whatever environment you are in. All you have to do is tell the subjects to put their heals together and turn our from the hips. It’s simple, but allows you to really play with arms and decide what artistic route you want to take! My favorite way to go with this one is once again throwing the skirt!
-Tip-
Don’t be afraid to speak up. If something doesn’t look good find a way to modify it. Experiment, what do you have to lose? It could be an amazing photo that you were not even expecting!
Don’t be afraid to think outside the box!
Wherever you are. Wherever you go. You can find beauty in Gods creation.
Email us at-
Want more Tips, Tricks, and Techniques?
Tap me!