What camera do I use?
-Tips and Tricks-
Welcome back! This week we are going to tackle the basic fundamentals of shooting with a canon camera! I use a canon EOS Mark III with a lens range of 24-105 and lets just say I LOVE IT! The size is nice, not to big, not to small; the lens still gives you the right amount of length without it being to much or two little, and the touch screen I love!
–The basic canon fundamentals–
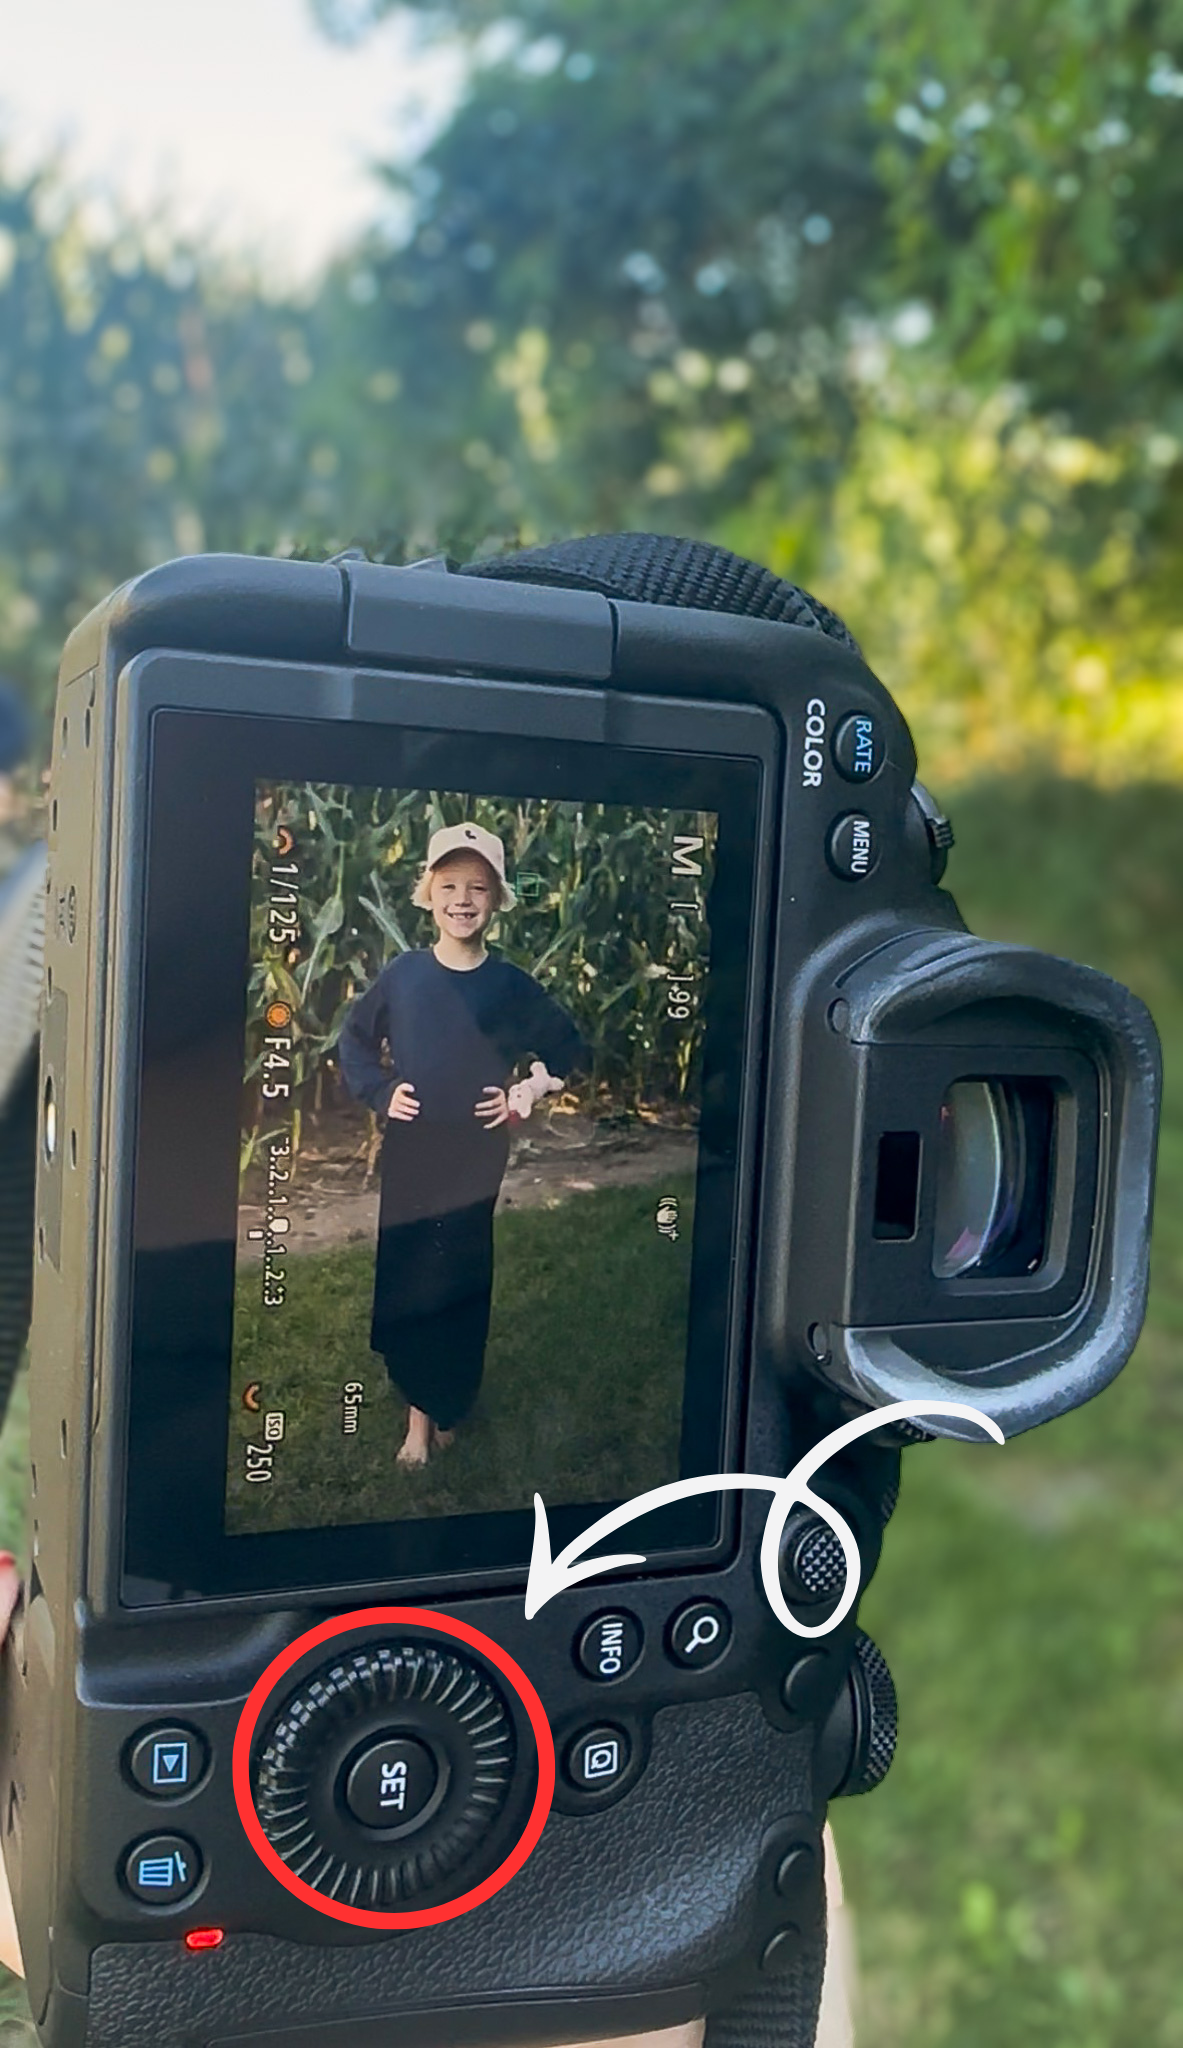
Where and what are the buttons? Well let’s start out with the 3 most important ones. Aperture, ISO, and Shutter Speed. These are the buttons you use the most if you are shooting in manual (which I would recommend). Your first button is going to be aperture, and if you are using a camera like mine it will be the dial near the screen. Watch the number in the middle of the left side of the screen move as you turn the dial!
If you are using an entry level model for example… The Rebel series, EOS R100, R50) to change the aperture, you must hold down an “Av +/-” button on the back while turning the top dial.
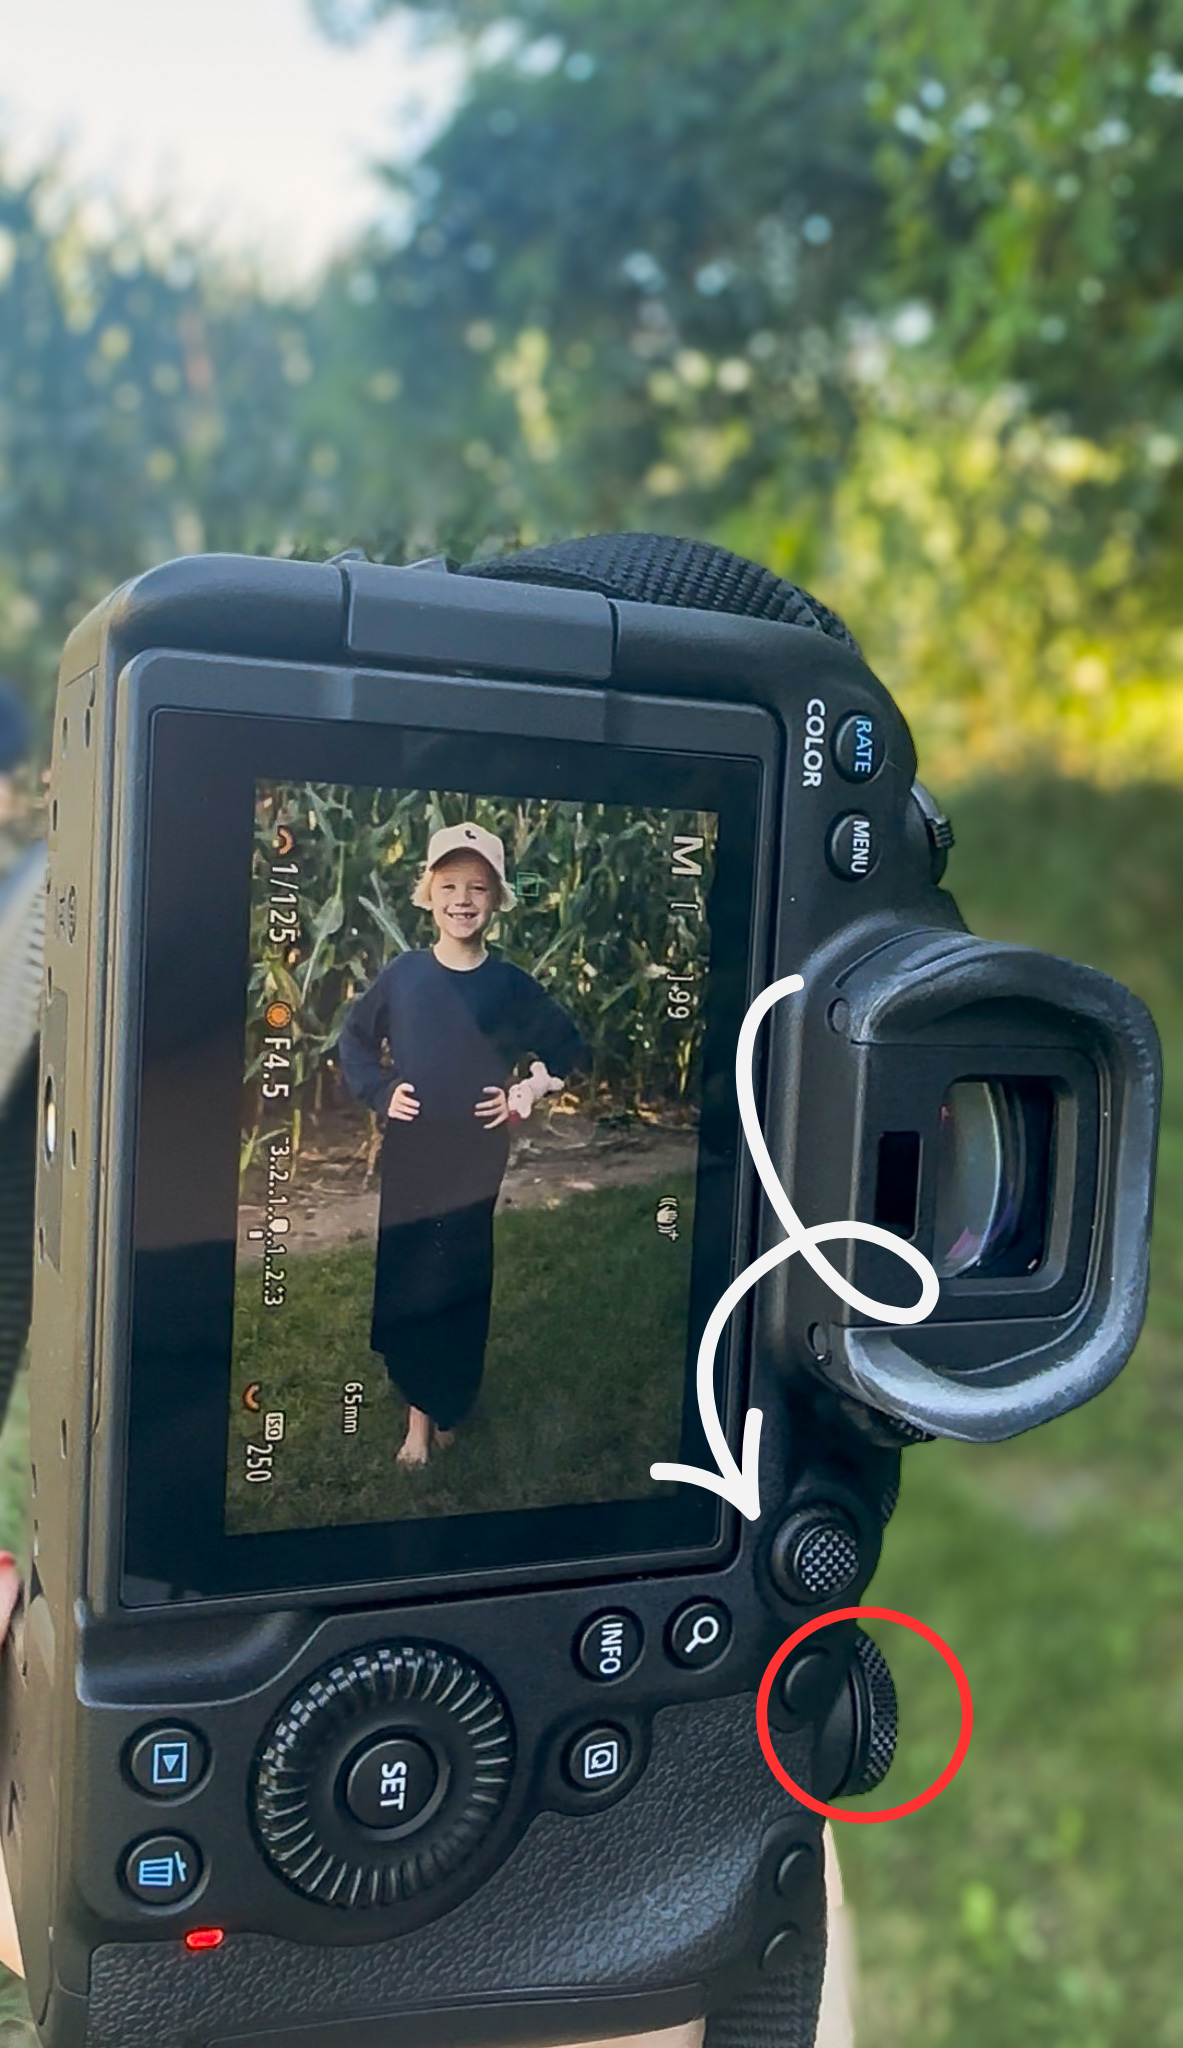
Next we are going to talk ISO. Where is the button for that? As said before if you are using the same camera as me than the dial circled will control your ISO. Watch the number on the very bottom of the left side of the screen move as you turn the dial!
But if you are using Entry-level DSLRs (like Rebel series): These often use a dedicated “ISO” button on the top body, near the shutter button, which you press while turning the main dial.
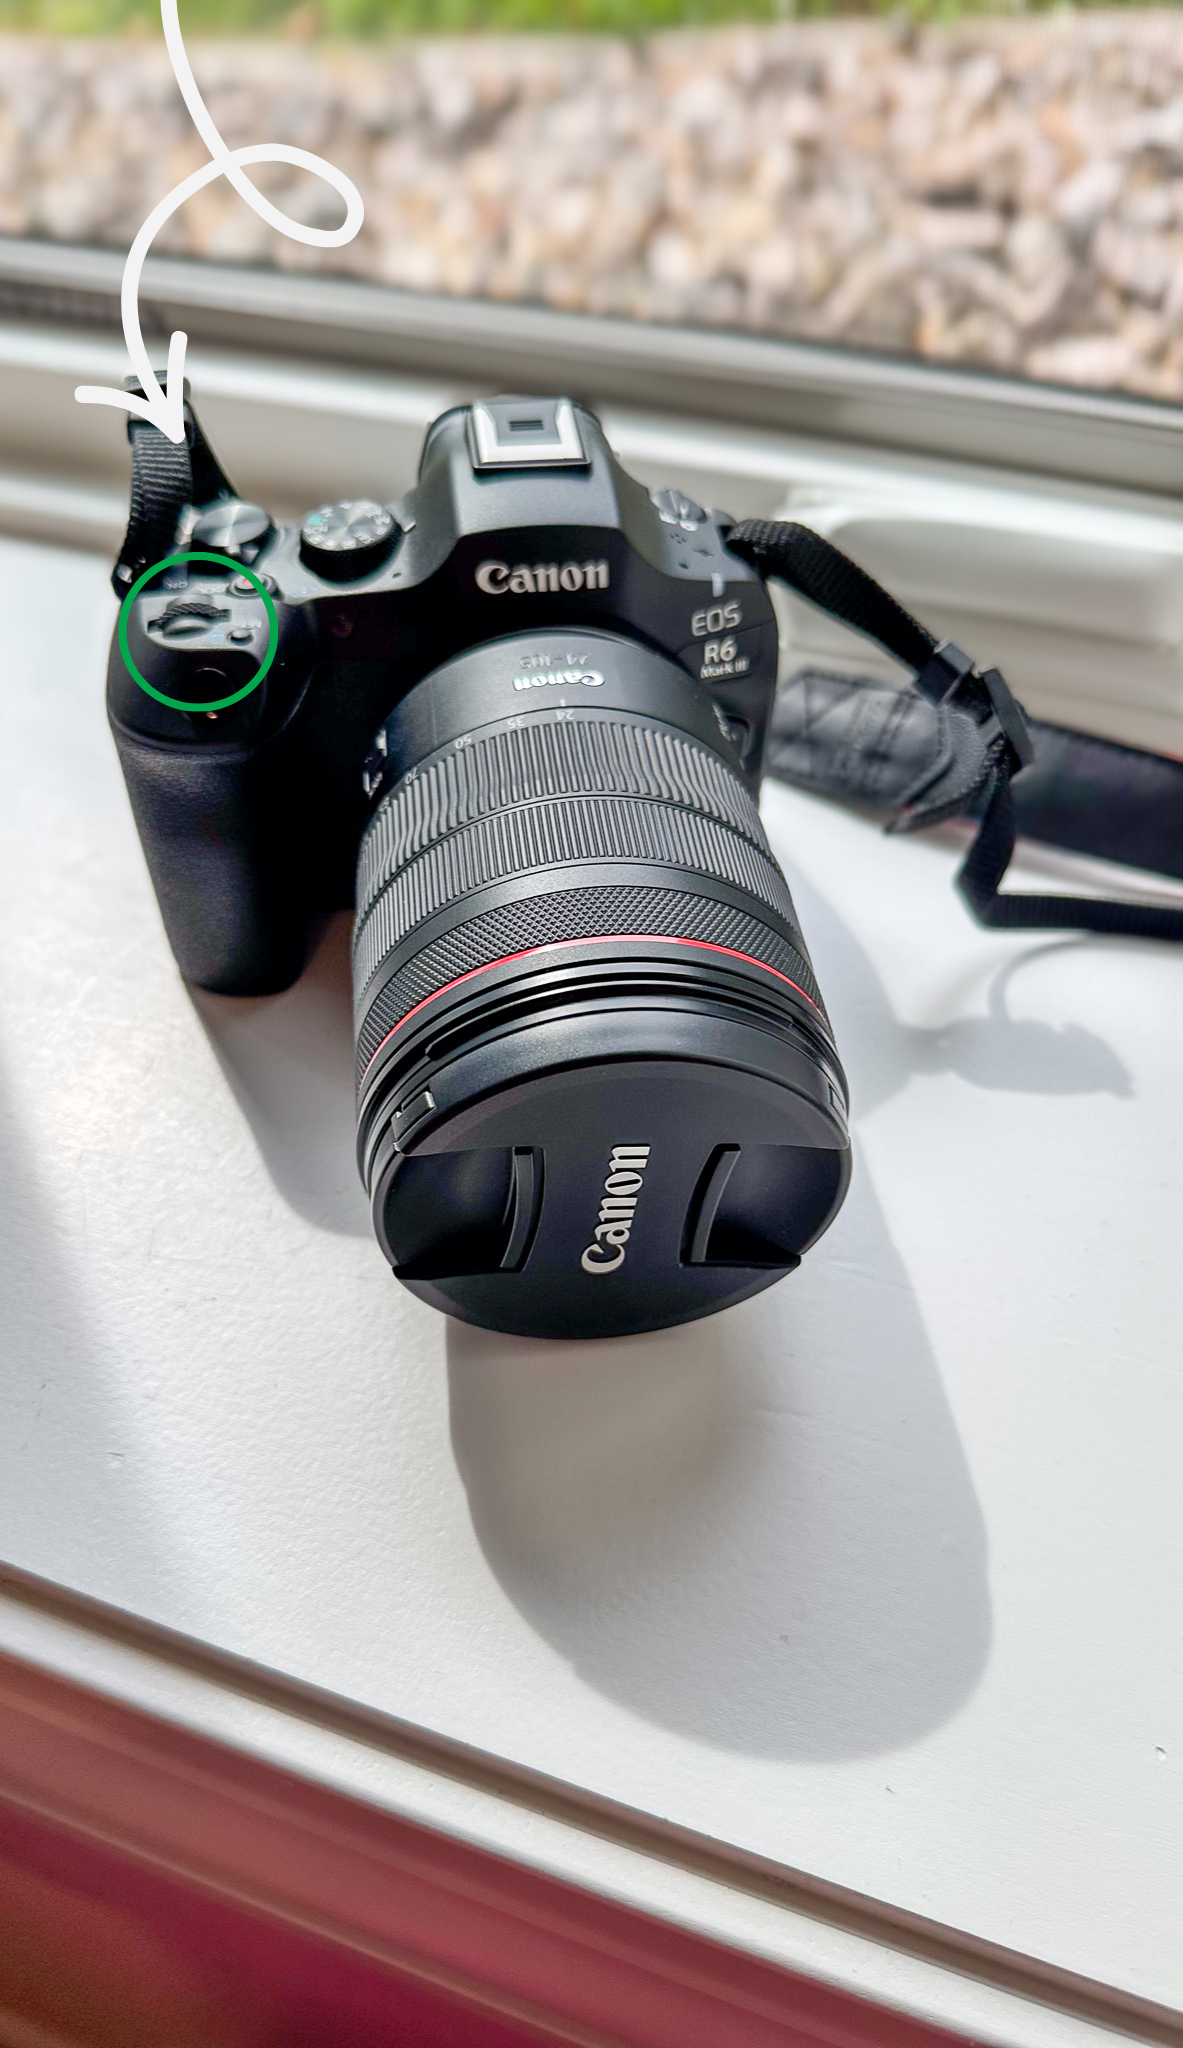
Last but not least my favorite the shutter speed! This dial on the front of the camera will control your shutter speed. Watch the number change on the top left of the screen as you move the dial! If you are using a different make or model it will be in a different spot on the camera.
But if you are using Entry-level DSLRs (like Rebel series). There is typically a single main top dial located just behind the shutter button, which changes its function depending on your shooting mode.
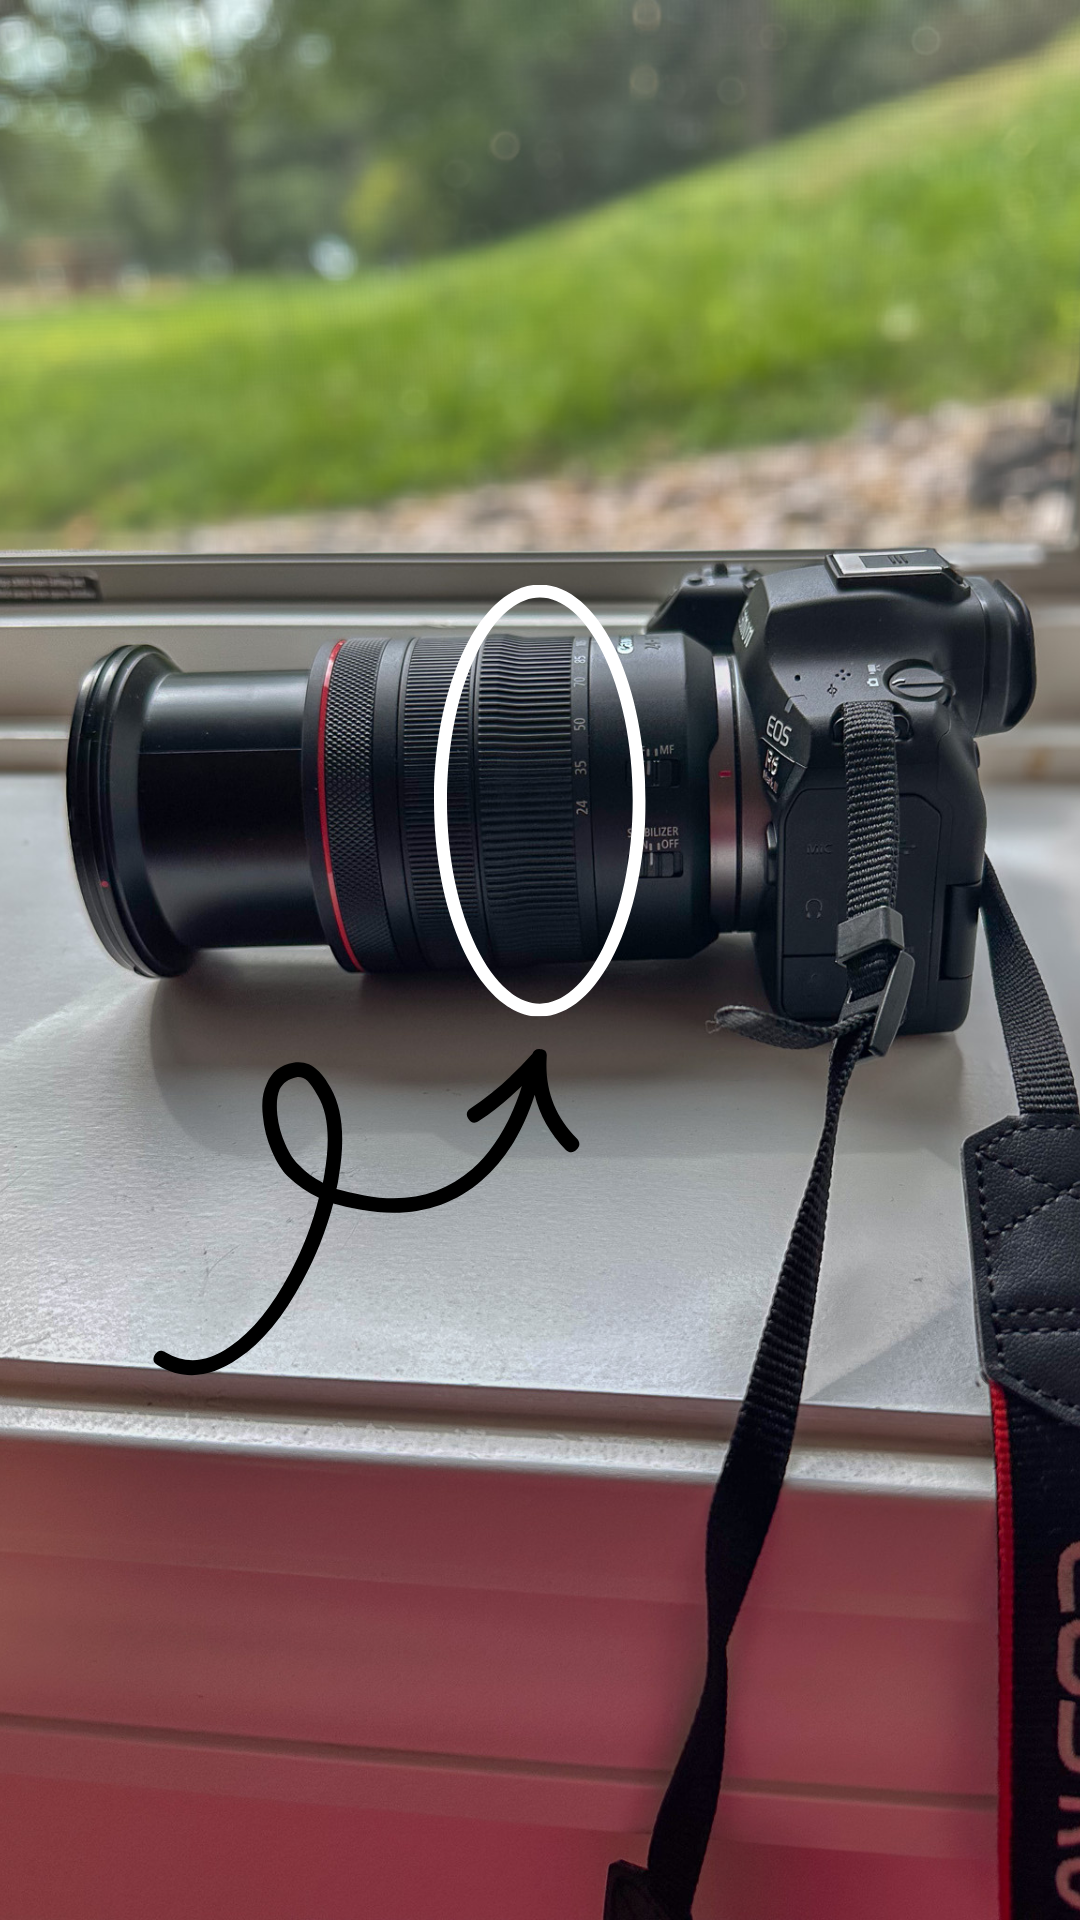
Are you wondering how to zoom the lens in and out, so you can capture that breath taking picture of a waterfall? Well here is how you do it… simply turn this part of that camera lens counter clockwise and your image will become bigger on the screen, turn it clockwise your image will become smaller.
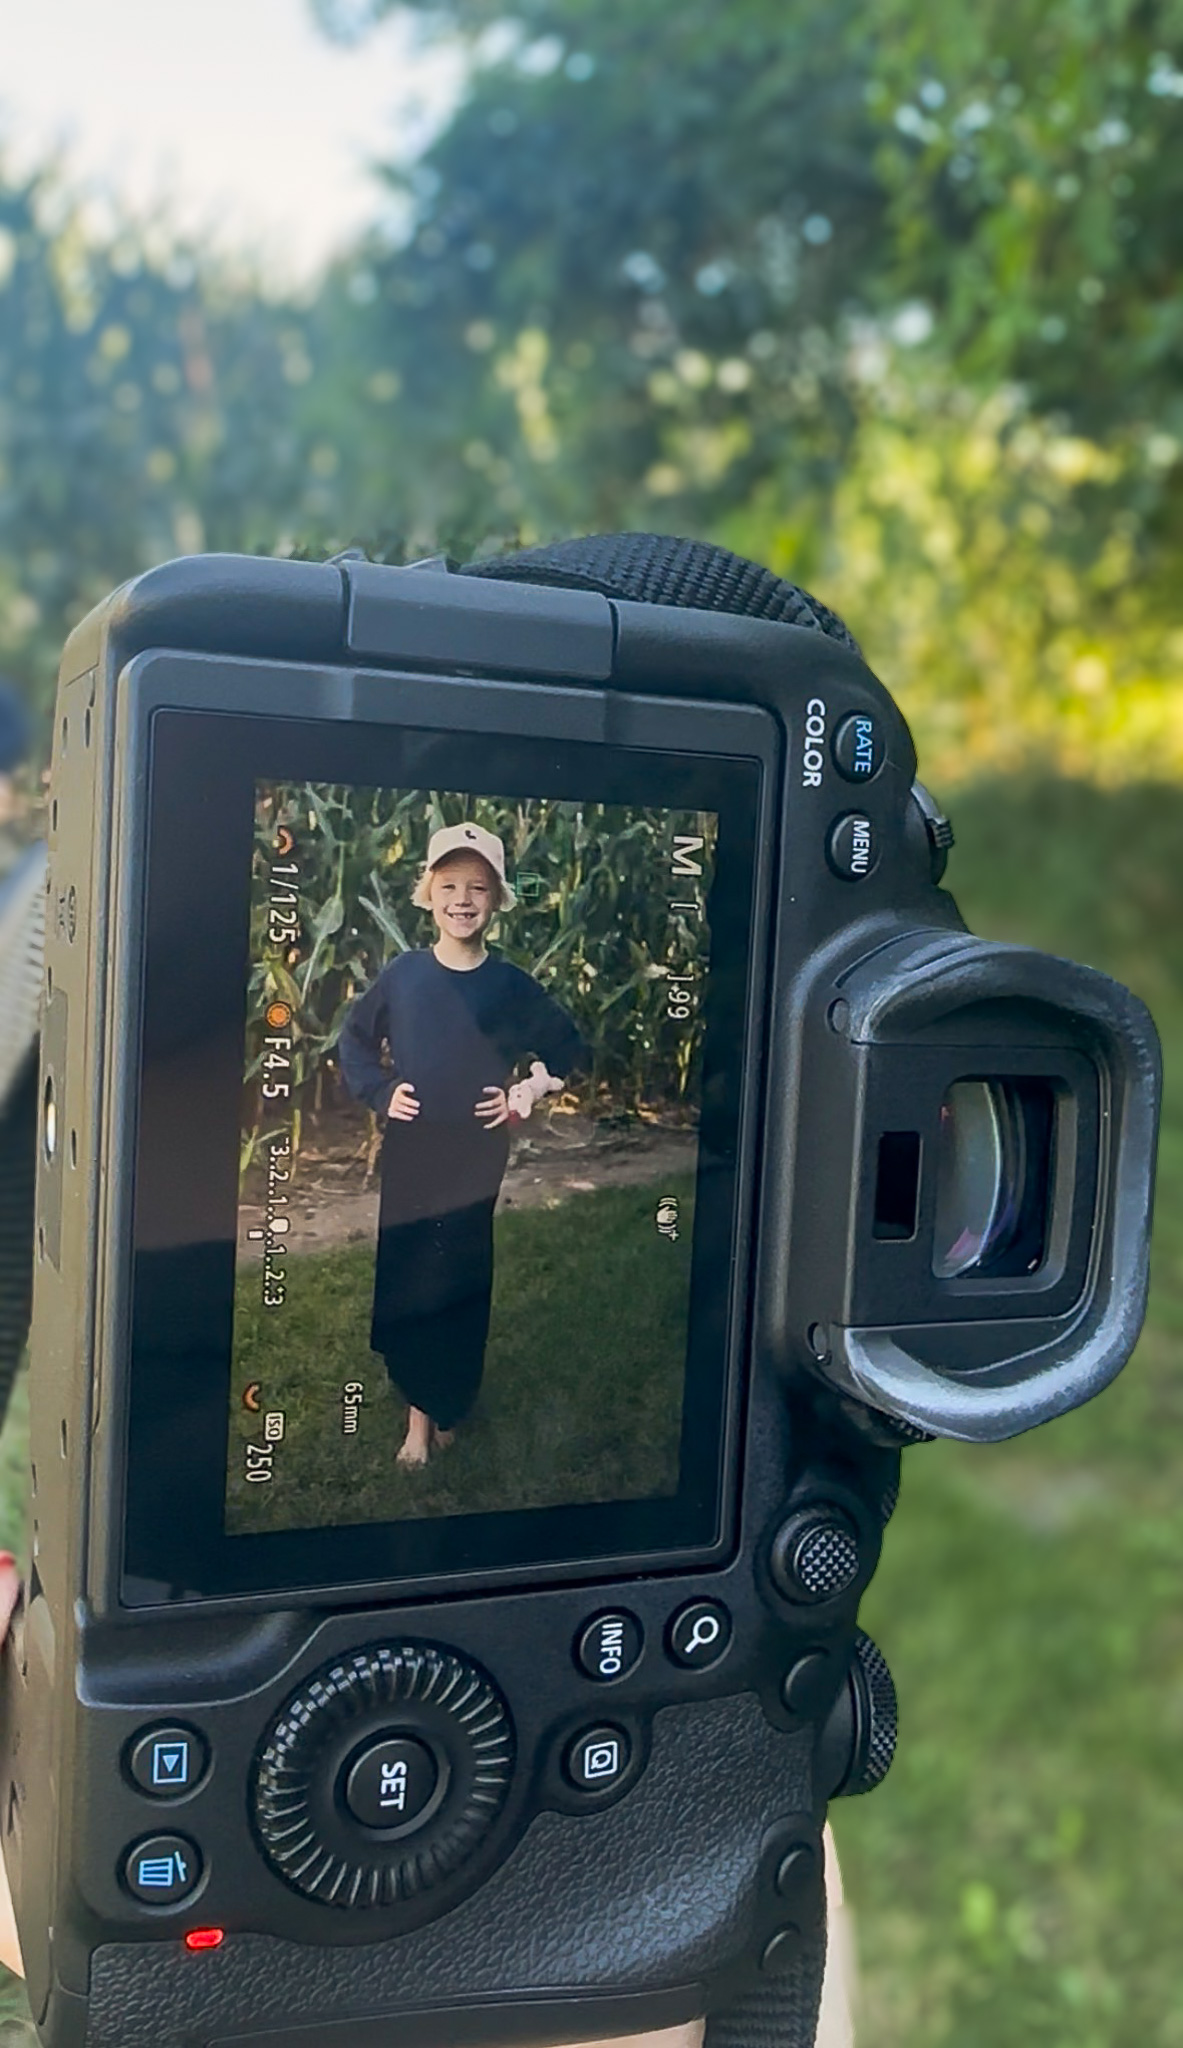
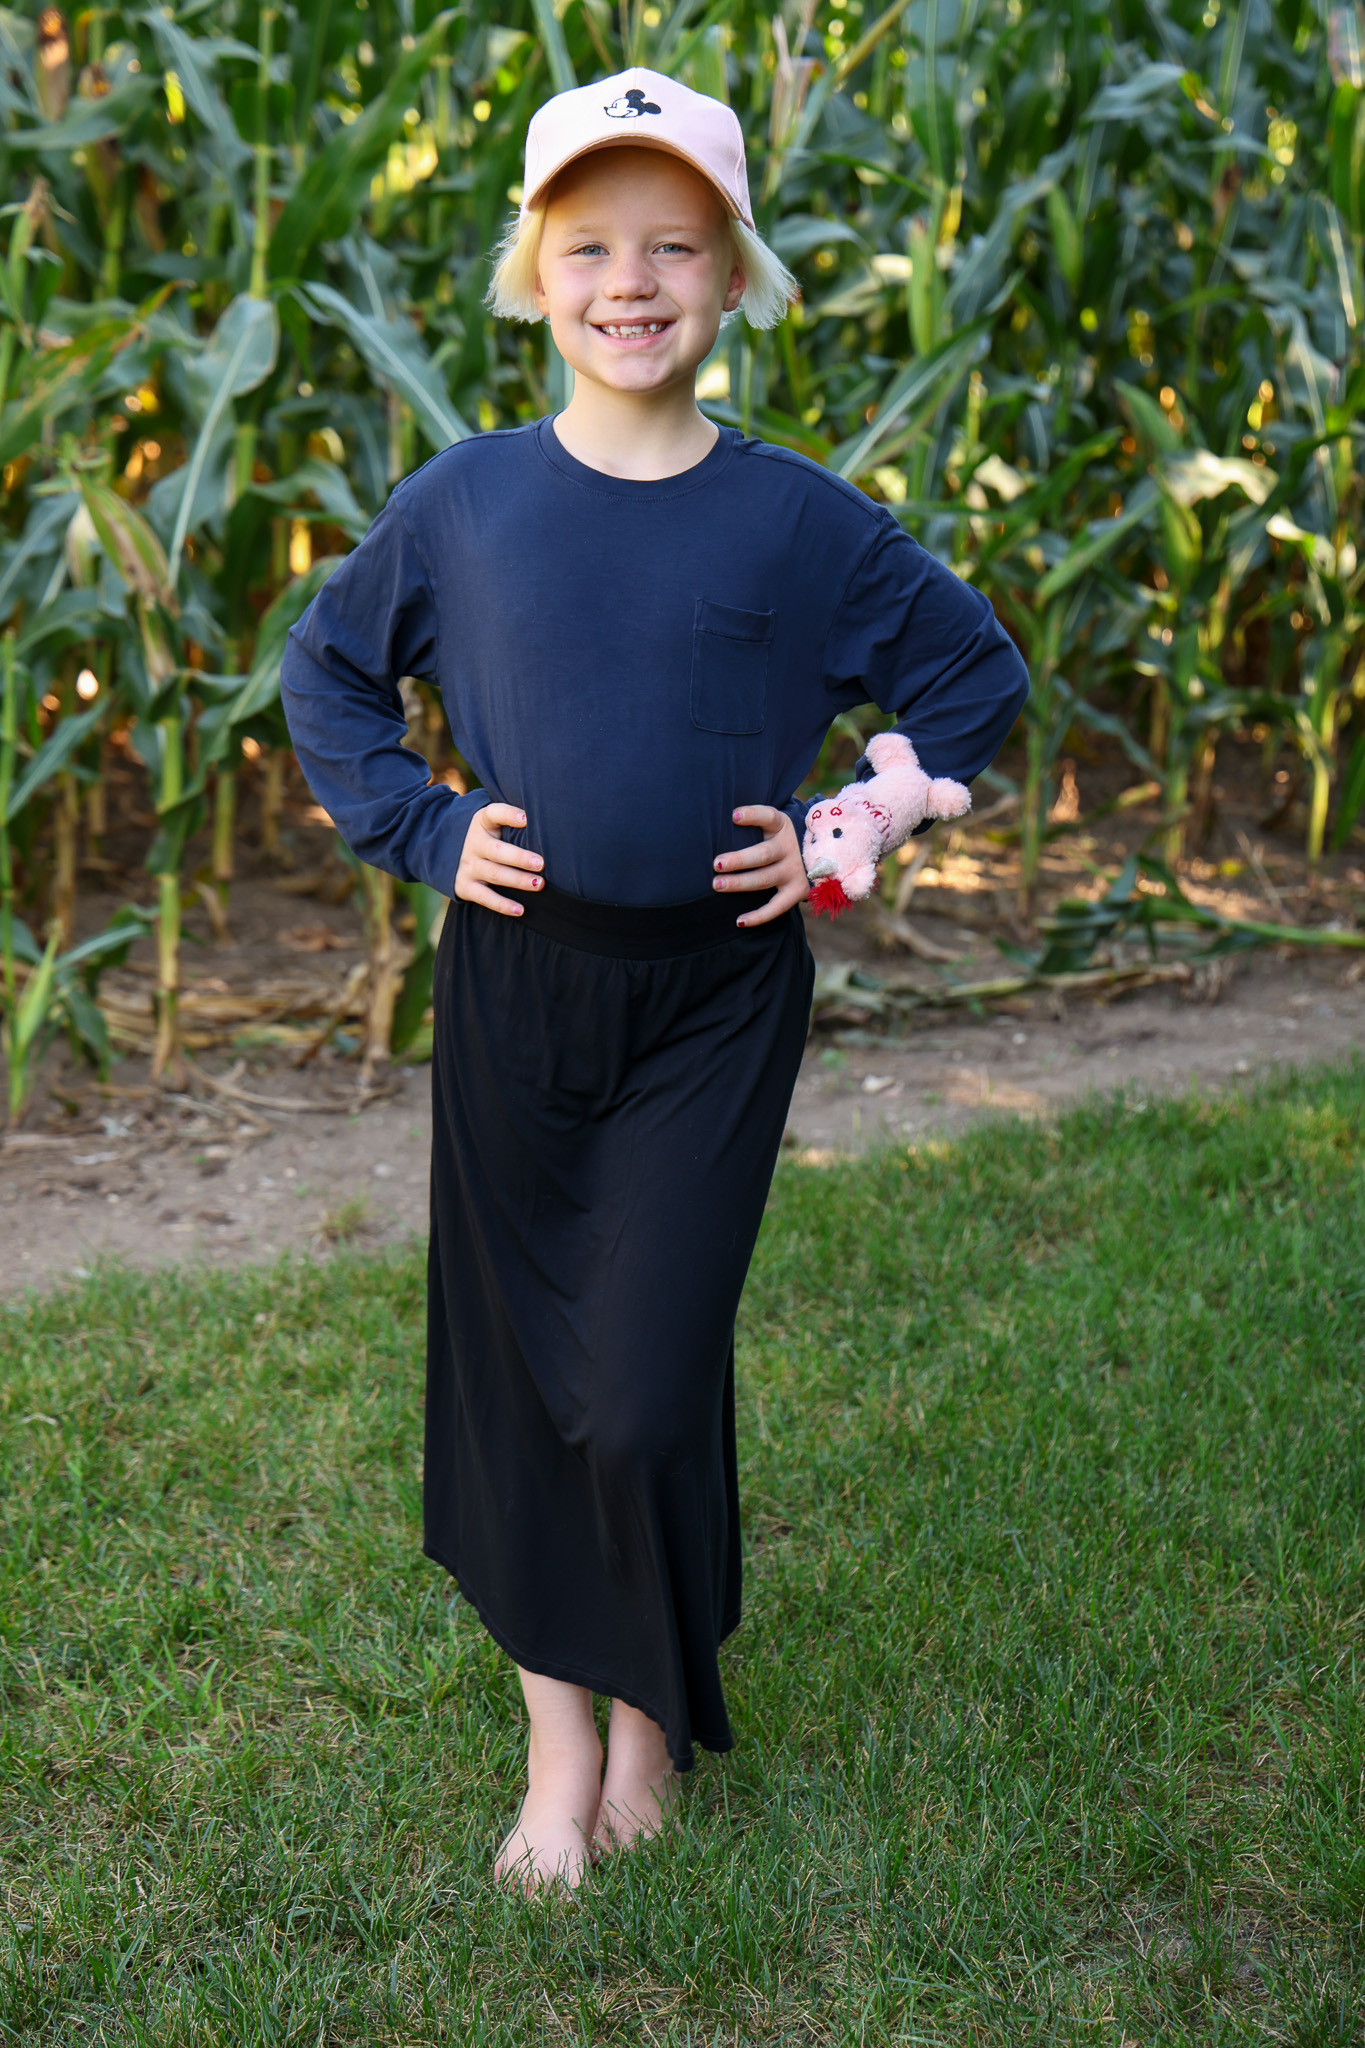
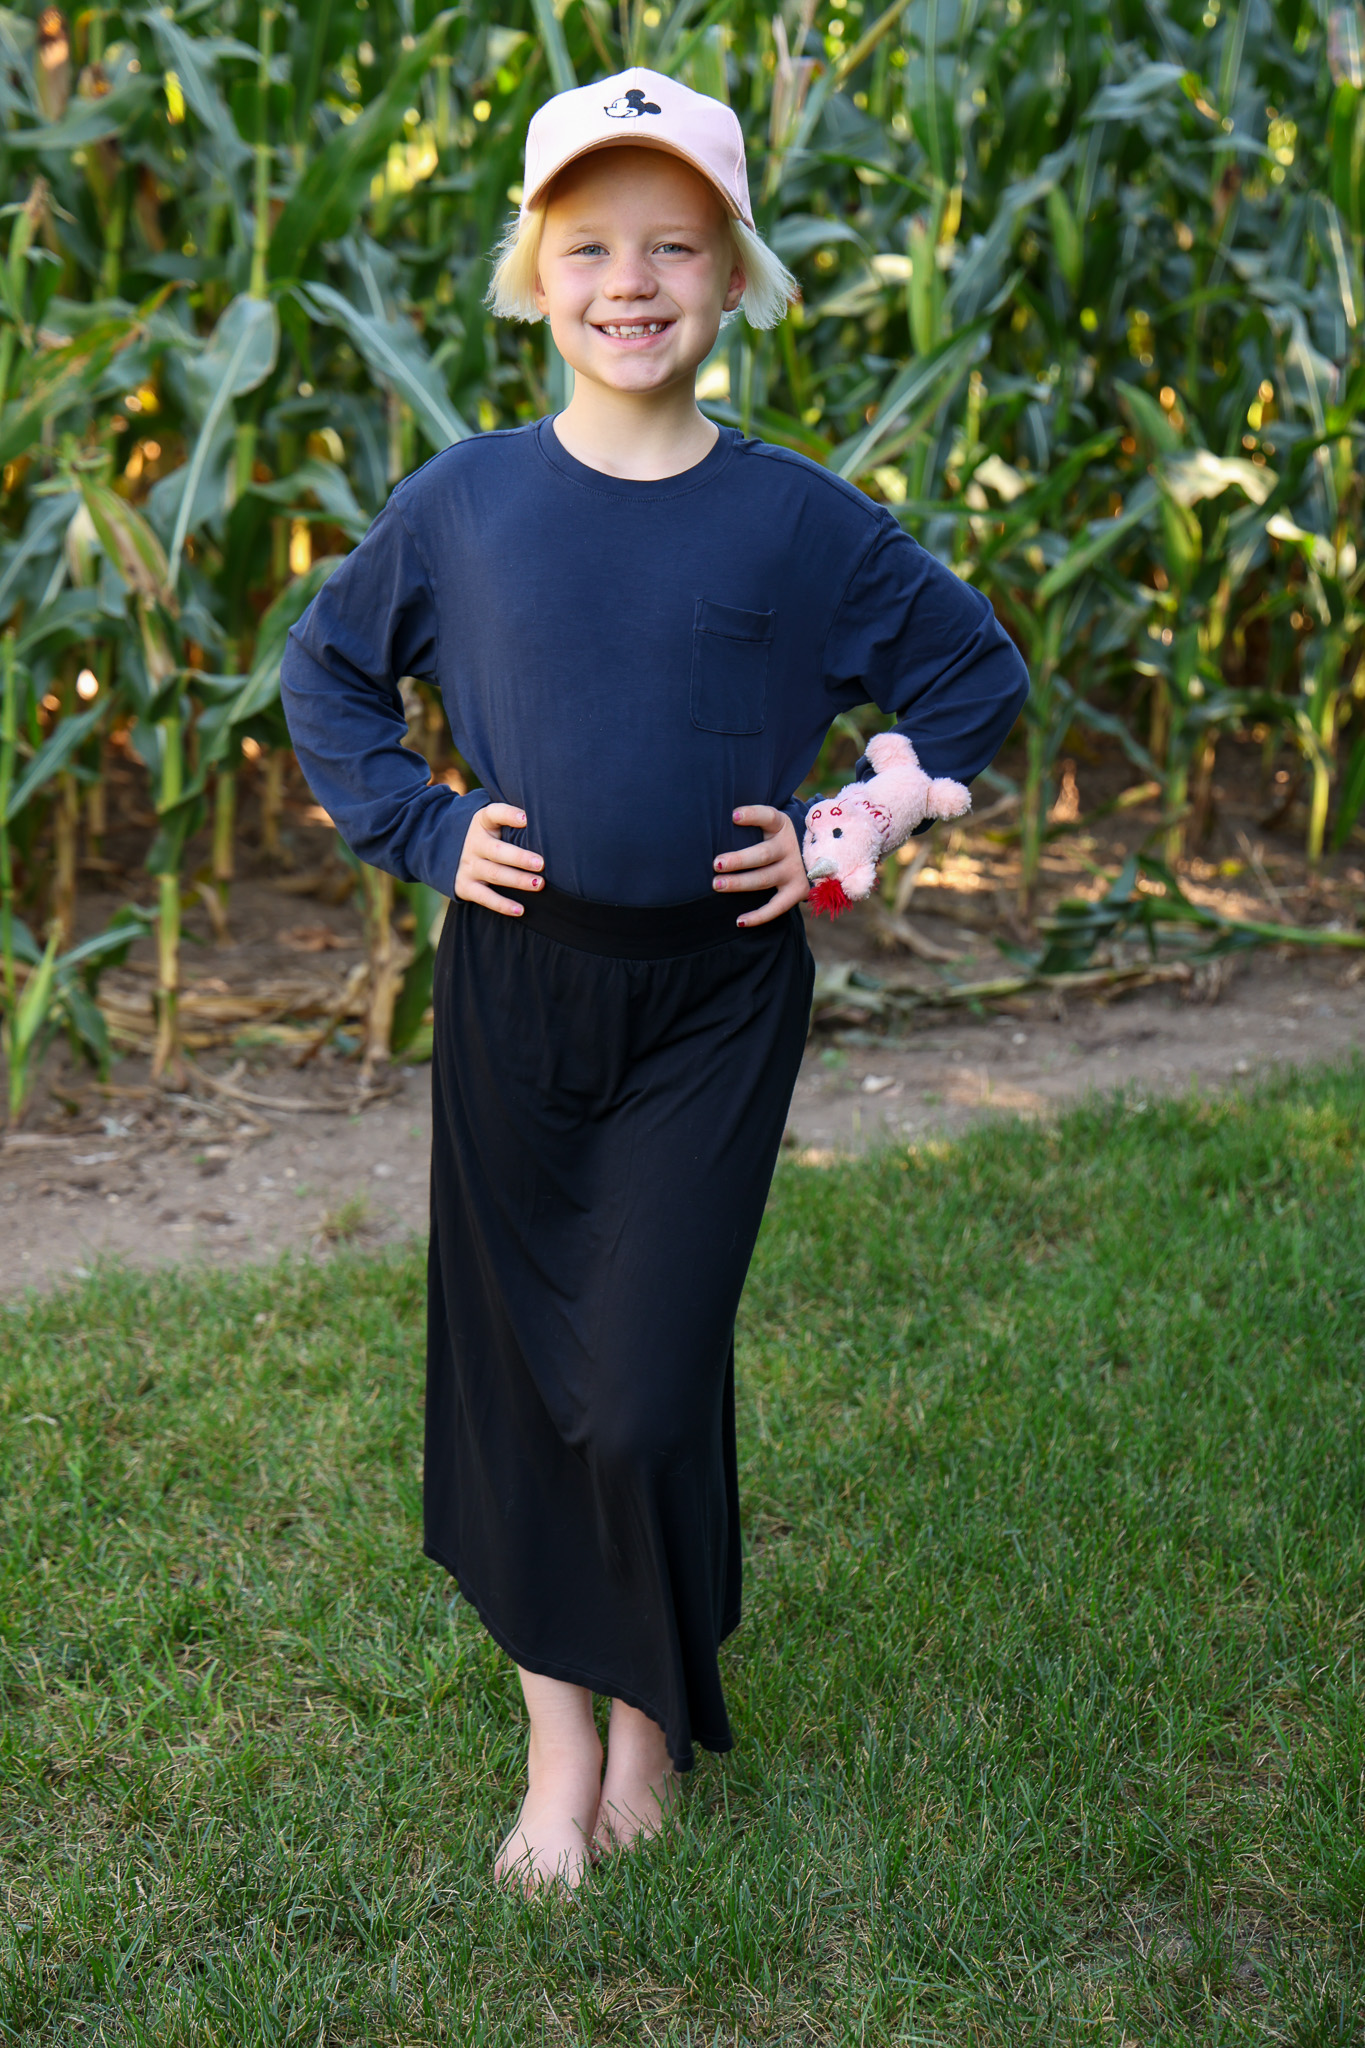
Here is a picture of my camera, and my camera settings. Than the after picture. On the top left side of the screen you will have the shutter speeds; below you will have the aperture, and on the very bottom of the screen is the ISO. The higher the aperture and shutter speed number is the darker your image will be. But the higher the ISO the brighter the image will be! Read… How To Use Your Camera to learn more on this topic!
-Tip-
Do you want to be able to see what the lens is seeing on your camera screen? If you are working with an older model of camera, there should be a round black button to the right of your screen; that will enable the capability to see what your lens is seeing. Why do you want to use this feature? Because you can see how changing the settings in real time affect the lighting and quality of the photo.
Don’t be afraid to think outside the box!
Check out this tutorial on how to adjust all three setting, and learn a trick at the end!
Wherever you are. Wherever you go. You can find beauty in Gods creation.
Email us at-
Want more Tips, Tricks, and Techniques?
Tap me!